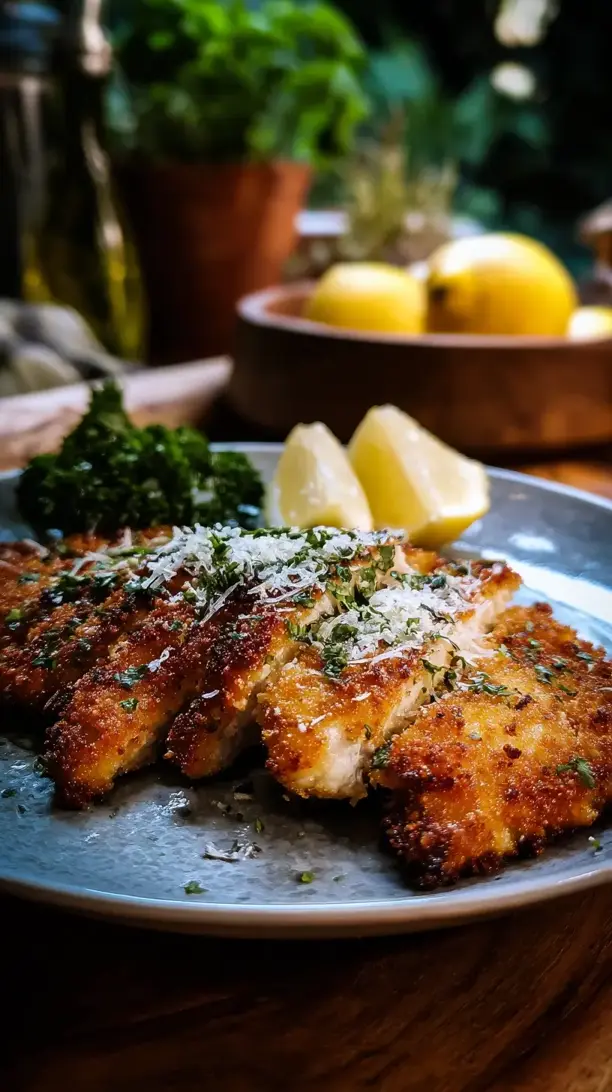
Chicken Milanese delivers a golden, crispy crust and tender, juicy chicken with simple ingredients and technique. This classic dish feels both comforting and elegant, perfect for weeknights or company. Follow these steps for an unforgettable Chicken Milanese every time.
Looking for Chicken Milanese inspiration? You'll love what we have! Explore more Chicken Recipes recipes or discover our Christmas Cookie favorites.


Why You’ll Love This Chicken Milanese
- Crispy & satisfying: Panko-Parmesan crust stays crunchy long after frying.
- Quick & straightforward: Comes together in under 30 minutes once you master the breading.
- Endlessly versatile: Serve with salad, over pasta, or as a sandwich.
- Fancy without fuss: Impressive golden cutlet with just a few simple steps.
Ingredients & Tools
- 2 large boneless, skinless chicken breasts (about 450-500 g total)
- 1 cup all-purpose flour
- 2 large eggs
- 1 ½ cups panko breadcrumbs
- ½ cup freshly grated Parmesan cheese
- 1 tsp garlic powder
- 1 tsp dried oregano
- ½ tsp paprika
- 1 tsp fine sea salt
- ½ tsp freshly ground black pepper
- ¾ cup neutral oil (like vegetable or canola) for frying
- 1 lemon, cut into wedges for serving
- 2 cups fresh arugula for serving (optional)
Tools: Three shallow bowls, a meat mallet or rolling pin, a large skillet, tongs, and a wire rack set over a baking sheet.
Notes: The quality of your breadcrumbs and Parmesan really makes a difference here—freshly grated cheese melts into the crust beautifully, and panko gives you those delightfully crispy flakes. Don’t skip the seasoning in the breadcrumb mixture either; that’s where a lot of the flavor comes from!
Nutrition (per serving)
| Calories: | 520 kcal |
| Protein: | 35 g |
| Fat: | 28 g |
| Carbs: | 30 g |
| Fiber: | 2 g |
Serves: 2 | Prep Time: 15 minutes | Cook Time: 10 minutes | Total Time: 25 minutes
Before You Start: Tips & Ingredient Notes
- Pound your chicken evenly. This is non-negotiable for even cooking. If some parts are thick and others thin, you’ll end up with dry spots and undercooked areas. Aim for a consistent ½-inch thickness across the entire cutlet.
- Use a wire rack, not paper towels. If you place your hot Milanese on paper towels, the bottom steam and get soggy. A wire rack allows air to circulate, keeping the entire cutlet wonderfully crisp.
- Don’t skip the dry-wet-dry breading order. Flour first (dry), then egg (wet), then breadcrumbs (dry). This sequence is what creates a solid, adhesive layer that sticks to the chicken and fries up into a perfect crust.
- Get your oil to the right temperature. If the oil isn’t hot enough, the chicken will absorb oil and become greasy. Too hot, and the outside burns before the inside cooks. A breadcrumb should sizzle gently when dropped in.
How to Make Chicken Milanese
Step 1: Start by preparing your chicken. Place one chicken breast on a cutting board and cover it with plastic wrap. Using a meat mallet or the bottom of a heavy pan, pound the chicken until it’s an even ½-inch thickness. Repeat with the second breast. You’ll notice the chicken becomes larger and more pliable—this is exactly what you want. Season both sides of each cutlet generously with salt and pepper.
Step 2: Set up your breading station. In one shallow bowl, place the flour. In a second bowl, beat the two eggs until smooth. In the third bowl, combine the panko breadcrumbs, grated Parmesan, garlic powder, oregano, and paprika. Mix it all together with a fork until well blended. Having everything laid out in order makes the process so much smoother.
Step 3: Now, bread the chicken. Take one seasoned cutlet and dredge it in the flour, shaking off any excess. Next, dip it into the beaten egg, letting the excess drip back into the bowl. Finally, press it firmly into the panko-Parmesan mixture, ensuring every bit is coated. Press down gently—you want the crumbs to really adhere. Place the breaded cutlet on a clean plate and repeat with the second piece.
Step 4: Heat the oil in a large skillet over medium heat. You’ll know it’s ready when a breadcrumb dropped into the oil sizzles immediately. Carefully place the chicken cutlets into the hot oil—don’t overcrowd the pan; you may need to cook them one at a time. Fry for about 3-4 minutes per side, until the crust is a deep, golden brown and the chicken is cooked through.
Step 5: As each cutlet finishes cooking, use tongs to transfer it to the wire rack set over a baking sheet. This keeps the bottom from getting steamy and soft. Let them rest for a couple of minutes—this allows the juices to redistribute throughout the chicken, ensuring every bite is moist and flavorful. Squeeze fresh lemon juice over the top right before serving.
Storage & Freshness Guide
- Fridge: Store leftovers in an airtight container up to 3 days.
- Freezer: Freeze breaded, uncooked cutlets on a parchment-lined sheet, then transfer to a freezer bag for up to 3 months. Fry from frozen, adding a few extra minutes.
- Reviving: Reheat in a 375°F oven or toaster oven until crisp and warm, about 10 minutes.
Serving Suggestions
Complementary Dishes
- A simple arugula salad — The peppery arugula dressed with just lemon juice and olive oil cuts through the richness of the fried chicken beautifully.
- Garlic roasted potatoes — Their soft, fluffy interior and crispy edges are the perfect starchy companion to the crunchy Milanese.
- Buttered pasta with parsley — A simple, light pasta lets the Chicken Milanese be the star, while sopping up any delicious juices.
Drinks
- A crisp Pinot Grigio — Its bright acidity and citrus notes cleanse the palate and complement the lemon squeezed over the chicken.
- A light Italian lager — The effervescence and mild bitterness are a classic pairing that never fails with fried foods.
- Sparkling water with lemon — For a non-alcoholic option, the bubbles and citrus are refreshing and help balance the meal.
Something Sweet
- Lemon sorbet — A scoop of tangy, icy sorbet continues the citrus theme and provides a clean, refreshing finish.
- Tiramisu — For a truly Italian feast, the coffee-soaked layers and creamy mascarpone are a decadent contrast to the savory main.
- Panna Cotta with berry coulis — The smooth, delicate custard and sharp fruit sauce are elegant and light, ending the meal on a perfect note.
Top Mistakes to Avoid
- Mistake: Not pounding the chicken evenly. This is the number one reason for uneven cooking. A thick center means you have to fry longer to cook it through, which results in a burnt crust. A little time spent pounding pays off hugely.
- Mistake: Using oil that’s not hot enough. I’ve messed this up before too—impatiently adding chicken to lukewarm oil. The crust will absorb the oil instead of sealing, and you’ll end up with a greasy, sad cutlet. Always test with a breadcrumb first.
- Mistake: Pressing down on the chicken while it fries. It’s


Chicken Milanese
Learn how to make perfect Chicken Milanese with a crispy crust and juicy interior. This easy 30-minute recipe is a weeknight winner. Get cooking now!
Ingredients
For the Ingredients
-
2 large boneless, skinless chicken breasts (about 450-500 g total)
-
1 cup all-purpose flour
-
2 large eggs
-
1 ½ cups panko breadcrumbs
-
½ cup freshly grated Parmesan cheese
-
1 tsp garlic powder
-
1 tsp dried oregano
-
½ tsp paprika
-
1 tsp fine sea salt
-
½ tsp freshly ground black pepper
-
¾ cup neutral oil (like vegetable or canola, for frying)
-
1 lemon (cut into wedges for serving)
-
2 cups fresh arugula (for serving (optional))
Instructions
-
Start by preparing your chicken. Place one chicken breast on a cutting board and cover it with plastic wrap. Using a meat mallet or the bottom of a heavy pan, pound the chicken until it’s an even ½-inch thickness. Repeat with the second breast. You’ll notice the chicken becomes larger and more pliable—this is exactly what you want. Season both sides of each cutlet generously with salt and pepper.01
-
Set up your breading station. In one shallow bowl, place the flour. In a second bowl, beat the two eggs until smooth. In the third bowl, combine the panko breadcrumbs, grated Parmesan, garlic powder, oregano, and paprika. Mix it all together with a fork until well blended. Having everything laid out in order makes the process so much smoother.02
-
Now, bread the chicken. Take one seasoned cutlet and dredge it in the flour, shaking off any excess. Next, dip it into the beaten egg, letting the excess drip back into the bowl. Finally, press it firmly into the panko-Parmesan mixture, ensuring every bit is coated. Press down gently—you want the crumbs to really adhere. Place the breaded cutlet on a clean plate and repeat with the second piece.03
-
Heat the oil in a large skillet over medium heat. You’ll know it’s ready when a breadcrumb dropped into the oil sizzles immediately. Carefully place the chicken cutlets into the hot oil—don’t overcrowd the pan; you may need to cook them one at a time. Fry for about 3-4 minutes per side, until the crust is a deep, golden brown and the chicken is cooked through.04
-
As each cutlet finishes cooking, use tongs to transfer it to the wire rack set over a baking sheet. This keeps the bottom from getting steamy and soft. Let them rest for a couple of minutes—this allows the juices to redistribute throughout the chicken, ensuring every bite is moist and flavorful. Squeeze fresh lemon juice over the top right before serving.05
Not what you're looking for?


