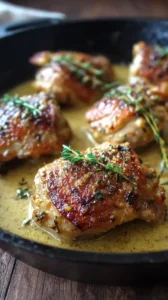
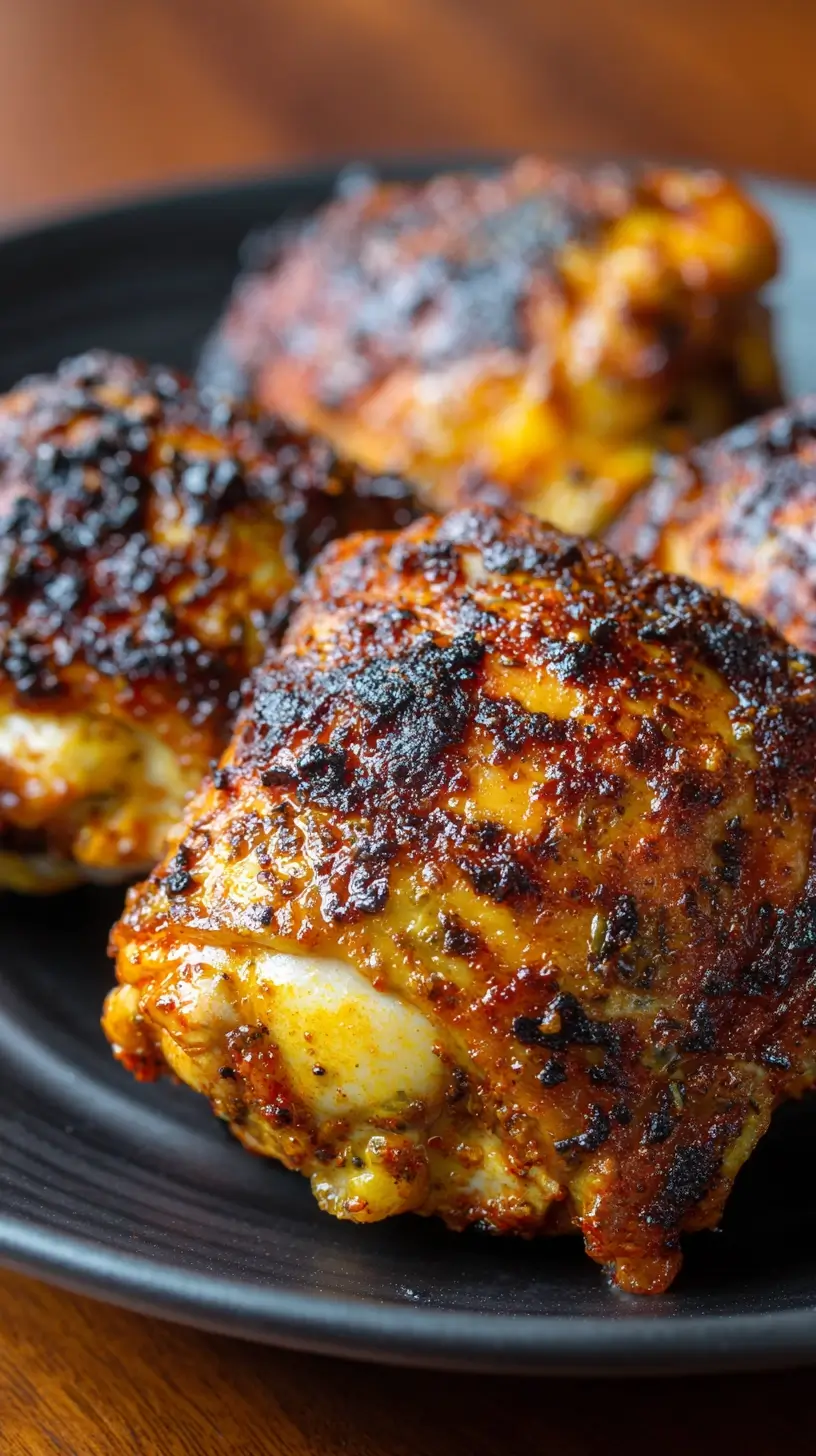
Blackened chicken thighs deliver a smoky, spicy crust with incredibly juicy meat inside. This restaurant-worthy technique is simple to master with a hot skillet and bold seasoning. Get ready for a quick, flavor-packed meal that’s perfect for any night.
Nothing beats a great Blackened Chicken Thighs. Whether you're a fan of Chicken Thigh Recipes or want to try something from our Chicken Breast Recipes selection, keep scrolling!


Why You’ll Love This Blackened Chicken Thighs
- Maximal flavor, minimal effort: The spice rub creates a complex, smoky profile with little work.
- Juicy, forgiving texture: Bone-in, skin-on thighs stay moist and develop a crispy crust.
- Incredibly versatile: Perfect for salads, tacos, rice bowls, or eating straight from the pan.
- Impressive “wow” factor: Looks professional but comes together in under 30 minutes.
Ingredients & Tools
- 4 bone-in, skin-on chicken thighs
- 2 tbsp smoked paprika
- 1 tbsp garlic powder
- 1 tbsp onion powder
- 2 tsp dried oregano
- 1 tsp dried thyme
- 1-2 tsp cayenne pepper (adjust to your heat preference)
- 1 tsp salt
- 1/2 tsp freshly ground black pepper
- 2 tbsp avocado oil or another high-smoke-point oil
Tools: A well-seasoned cast iron skillet is non-negotiable here, along with a pair of sturdy tongs.
Notes: Use fresh, vibrant spices for the best flavor. Adjust the cayenne to control the heat level.
Nutrition (per serving)
| Calories: | 320 kcal |
| Protein: | 28 g |
| Fat: | 22 g |
| Carbs: | 4 g |
| Fiber: | 2 g |
Serves: 4 | Prep Time: 10 minutes | Cook Time: 15 minutes | Total Time: 25 minutes
Before You Start: Tips & Ingredient Notes
- Why bone-in, skin-on thighs? They are simply more forgiving and flavorful. The skin protects the meat from the intense direct heat, the fat bastes the chicken from within, and the bone adds an extra layer of insulation for the most succulent result imaginable.
- Can I use a different cut of chicken? You can, but you’ll need to adjust. Boneless, skinless thighs will cook much faster and be leaner. Chicken breasts are not ideal as they can easily dry out with this high-heat method.
- Is my smoke alarm going to go off? Probably, yes—and that’s okay! Blackening is a smoky process. Open a window, turn on your hood vent on high, and maybe disarm the smoke detector for a few minutes. It’s a sign you’re doing it right.
- What if I don’t have a cast iron skillet? A heavy-bottomed stainless steel pan is your next best bet. Avoid non-stick, as you won’t achieve the same level of sear and it can’t handle the required high heat safely.
How to Make Blackened Chicken Thighs
Step 1: Pat the Chicken Completely Dry. This is the most crucial step for getting that perfect crust. Use paper towels to thoroughly pat the chicken thighs dry on both sides. Any surface moisture will create steam and prevent the spices from adhering properly and blackening. You’ll notice the skin looks a bit matte and almost sticky when it’s properly dried.
Step 2: Mix the Spice Rub. In a small bowl, whisk together the smoked paprika, garlic powder, onion powder, oregano, thyme, cayenne, salt, and black pepper. The mixture should be a deep, brick-red color and smell incredibly aromatic. Don’t be shy—give it a taste to check the salt and heat level.
Step 3: Season the Chicken Generously. Drizzle the chicken thighs with about one tablespoon of the oil, just enough to lightly coat them. Then, rub the spice mixture onto both sides of the chicken, pressing it into the skin and meat. You should use all of the spice rub—this isn’t a time for a light hand. The chicken should be thoroughly coated in a deep red layer.
Step 4: Heat the Skillet. Place your cast iron skillet over medium-high heat and let it preheat for a good 4-5 minutes. You want it seriously hot. Add the remaining tablespoon of oil and swirl it to coat the bottom. The oil should shimmer and look almost wavy—that’s how you know it’s ready.
Step 5: Cook Skin-Side Down First. Carefully place the chicken thighs in the hot skillet, skin-side down. They should sizzle aggressively the moment they hit the pan. Do not move them! Let them cook undisturbed for 6-8 minutes. You’ll see the edges start to turn opaque and the skin will begin to darken and crisp up beautifully.
Step 6: Flip and Finish Cooking. Using your tongs, flip the chicken thighs. They should release easily from the skillet if a good crust has formed. The skin will now be a dark, almost blackened brown and look incredibly crispy. Cook for another 6-8 minutes on the second side.
Step 7: Check for Doneness. The chicken is done when the internal temperature reaches 165°F (74°C) when measured at the thickest part, avoiding the bone. The juices should also run clear. If you’re unsure, just make a tiny cut near the bone to check that the meat is no longer pink.
Step 8: Rest Before Serving. Transfer the blackened chicken thighs to a clean plate or cutting board and let them rest for at least 5 minutes. This allows the juices to redistribute throughout the meat, ensuring every single bite is moist and flavorful. Dig in while they’re still warm!
Storage & Freshness Guide
- Fridge: Store in an airtight container for up to 3 days.
- Freezer: Freeze in a single layer then transfer to a bag for up to 2 months.
- Reviving: Reheat in a 350°F oven or toaster oven for 10 minutes to maintain crispness.
Serving Suggestions
Complementary Dishes
- Creamy Cilantro Lime Rice — The cool, creamy, and tangy rice is the perfect base to soak up all the spicy, smoky juices from the chicken.
- A Simple Arugula Salad with Lemon Vinaigrette — The peppery arugula and sharp lemon cut through the richness of the chicken, creating a beautifully balanced plate.
- Grilled Corn on the Cob — The sweet, charred kernels are a classic partner for bold, spicy flavors and add a wonderful textural contrast.
Drinks
- A Crisp, Cold Mexican Lager — The light, clean flavor of the beer is fantastic for washing down the spice and cleansing your palate between bites.
- Sparkling Water with Lime — For a non-alcoholic option, the bubbles and citrus are incredibly refreshing and help temper the heat from the cayenne.
- An Oaky Chardonnay — A white wine with a bit of body and buttery notes can stand up to the powerful flavors and complement the smokiness.
Something Sweet
- Mango Sorbet — The sweet, fruity, and cold sorbet is a dreamy way to finish the meal and soothe your taste buds after all that spice.
- Key Lime Pie — The intense tartness and creamy texture are a perfect, bright counterpoint to the deep, savory notes of the blackened chicken.
- Dark Chocolate Bark with Sea Salt — A few pieces of rich, slightly bitter chocolate provide a sophisticated and simple end to a robust meal.
Top Mistakes to Avoid
- Mistake: Not patting the chicken dry. I’ve messed this up before too, and you end up with steamed, pale chicken instead of a seared, blackened crust. Moisture is the enemy of browning, so dry it thoroughly.
- Mistake: Moving the chicken too soon. As soon as you hear that sizzle, the temptation to peek is real. Resist it! Let the skin-side form a crust that releases naturally from the pan. If you try to move it too early, you’ll tear the beautiful skin.
- Mistake: Using a low-smoke-point oil. Olive oil will burn and become bitter at the high temperatures required for blackening. Stick with avocado, grapeseed, or refined coconut oil for a clean, neutral sear.
- Mistake: Crowding the pan. If you put too many thighs in the skillet, the temperature will plummet, and the chicken will steam instead of sear. Cook in batches if necessary to give each piece plenty of room.
Expert Tips
- Tip: Make a big batch of the spice rub. Double or triple the dry spice mixture and store it in a jar. You’ll have an instant flavor bomb ready for chicken, fish, or even roasted vegetables on any busy night.
- Tip: Let the chicken come to room temperature. Taking the chill off the chicken for 15-20 minutes before cooking helps it cook more evenly, preventing a burnt outside and a raw inside.
- Tip: Use the rendered fat. After cooking the chicken, don’t pour out the delicious, spiced fat left in the skillet! Use it to sauté some onions and peppers for a incredible side dish or to make a quick pan sauce.
- Tip: Finish in the oven for extra crispiness. If your skin isn’t as crispy as you’d like after pan-searing, pop the entire skillet into a 400°F (200°C) oven for 3-5 minutes to really lock in that crackling texture.
FAQs
Is blackened chicken the same as burnt chicken?
No, not at all! This is a common misconception. Burnt food is bitter and acrid, a result of uncontrolled carbonization. Blackening is a technique where spices and herbs are cooked at a very high heat until they create a dark, flavorful crust. The chicken itself is not burnt; it’s protected by the layer of spices and its own fat, resulting in a deeply savory, smoky, and delicious char.
Can I make this with boneless, skinless chicken thighs?
You absolutely can, but the method and result will be a bit different. Boneless, skinless thighs will cook much faster—reduce the cooking time to about 4-5 minutes per side. You’ll miss out on the incredible crispy skin, but you’ll still get a wonderfully flavorful and juicy piece of chicken that’s perfect for slicing into salads or grain bowls.
How do I control the spice level?
The heat here comes primarily from the cayenne pepper. For a mild version, use just 1/2 teaspoon. For medium, use 1 teaspoon. And if you like it spicy, go for the full 2 teaspoons or even add a pinch of chipotle powder for a smokier heat. You are in complete control of the fire.
What’s the best way to store and reheat leftovers?
Store any leftover chicken in an airtight container in the refrigerator for up to 3 days. To reheat, avoid the microwave, which will make the skin soggy. Instead, warm it gently in a 350°F (175°C) oven or toaster oven for about 10 minutes, or until heated through. This will help preserve the texture.
Can I grill blackened chicken thighs instead?
Yes, grilling is a fantastic option and adds another layer of smoky flavor. Get your grill screaming hot and cook the thighs over direct heat, following the same timing guidelines. Just be vigilant, as the drippings can cause flare-ups that might char the spices too aggressively. A little char is good, but you don’t want it to taste like a campfire.


Blackened Chicken Thighs
Learn how to make perfect Blackened Chicken Thighs with a crispy, spicy crust and juicy interior. This easy 30-minute recipe is a flavor explosion. Get cooking now!
Ingredients
For the Ingredients & Tools
-
4 bone-in, skin-on chicken thighs
-
2 tbsp smoked paprika
-
1 tbsp garlic powder
-
1 tbsp onion powder
-
2 tsp dried oregano
-
1 tsp dried thyme
-
1-2 tsp cayenne pepper
-
1 tsp salt
-
1/2 tsp freshly ground black pepper
-
2 tbsp avocado oil or another high-smoke-point oil
Instructions
-
Pat the Chicken Completely Dry. This is the most crucial step for getting that perfect crust. Use paper towels to thoroughly pat the chicken thighs dry on both sides. Any surface moisture will create steam and prevent the spices from adhering properly and blackening. You’ll notice the skin looks a bit matte and almost sticky when it’s properly dried.01
-
Mix the Spice Rub. In a small bowl, whisk together the smoked paprika, garlic powder, onion powder, oregano, thyme, cayenne, salt, and black pepper. The mixture should be a deep, brick-red color and smell incredibly aromatic. Don’t be shy—give it a taste to check the salt and heat level.02
-
Season the Chicken Generously. Drizzle the chicken thighs with about one tablespoon of the oil, just enough to lightly coat them. Then, rub the spice mixture onto both sides of the chicken, pressing it into the skin and meat. You should use all of the spice rub—this isn't a time for a light hand. The chicken should be thoroughly coated in a deep red layer.03
-
Heat the Skillet. Place your cast iron skillet over medium-high heat and let it preheat for a good 4-5 minutes. You want it seriously hot. Add the remaining tablespoon of oil and swirl it to coat the bottom. The oil should shimmer and look almost wavy—that’s how you know it’s ready.04
-
Cook Skin-Side Down First. Carefully place the chicken thighs in the hot skillet, skin-side down. They should sizzle aggressively the moment they hit the pan. Do not move them! Let them cook undisturbed for 6-8 minutes. You’ll see the edges start to turn opaque and the skin will begin to darken and crisp up beautifully.05
-
Flip and Finish Cooking. Using your tongs, flip the chicken thighs. They should release easily from the skillet if a good crust has formed. The skin will now be a dark, almost blackened brown and look incredibly crispy. Cook for another 6-8 minutes on the second side.06
-
Check for Doneness. The chicken is done when the internal temperature reaches 165°F (74°C) when measured at the thickest part, avoiding the bone. The juices should also run clear. If you’re unsure, just make a tiny cut near the bone to check that the meat is no longer pink.07
-
Rest Before Serving. Transfer the blackened chicken thighs to a clean plate or cutting board and let them rest for at least 5 minutes. This allows the juices to redistribute throughout the meat, ensuring every single bite is moist and flavorful. Dig in while they’re still warm!08
Not what you're looking for?


