There’s something magical about a classic vanilla milkshake—simple, nostalgic, and utterly satisfying when done right. But let’s be honest, not all shakes are created equal. Some are too thin, others too sweet, and some just taste… well, bland. That’s why I’m sharing my foolproof method for crafting the perfect vanilla milkshake—one that’s luxuriously thick, perfectly balanced, and packed with real vanilla flavor.
Love Vanilla Milkshake? So do we! If you're into Dessert Recipes or curious about Chicken Thigh Recipes, you'll find plenty of inspiration below.

Essential Ingredients & Tools
Ingredients
- 2 cups premium Vanilla Ice Cream (slightly softened; avoid artificial flavors)
- 1 cup whole milk (or substitute with ¾ cup milk + ¼ cup heavy cream for extra richness)
- 1 tsp pure vanilla extract (or ½ tsp vanilla bean paste for deeper flavor)
- 1 tbsp granulated sugar (adjust to taste)
- Pinch of salt (enhances vanilla’s sweetness)
Tools
- Blender (even a basic one works; no need for high-end models)
- Measuring cups and spoons
- Spatula (for scraping down the sides)
- Freezer-safe glass (chilling it is non-negotiable)
How to Make The Ultimate Vanilla Milkshake
- Chill Your Glass (Seriously, Do It)
Place your serving glass in the freezer for 10–15 minutes. A frosty glass prevents rapid melting, ensuring your shake stays thick and creamy from first sip to last. - Layer Like a Pro
Add ingredients to the blender in this order: 2 cups ice cream first, then 1 cup milk, 1 tsp vanilla, 1 tbsp sugar, and pinch of salt. The salt isn’t just for balance—it counteracts bitterness, making the vanilla’s aroma pop. If your ice cream is rock-hard, let it soften for 5–7 minutes at room temperature for smoother blending. - Blend with Care
Start on low speed for 10 seconds to break down the ice cream, then increase to high for 20–30 seconds until silky smooth. Over-blending incorporates too much air, leading to a foamy texture. If needed, pause to scrape the sides. The ideal consistency should coat the back of a spoon like heavy cream. - Tweak to Taste
Too thick? Add 1 tbsp milk at a time. Too thin? Blend in another scoop of ice cream. For a diner-style thickness, reduce the milk to ¾ cup and blend briefly. - Serve with Style
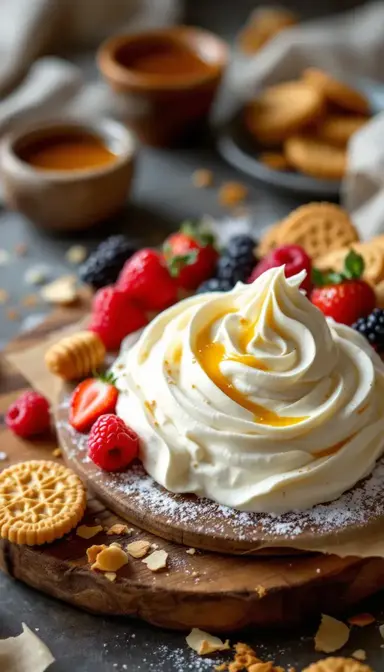
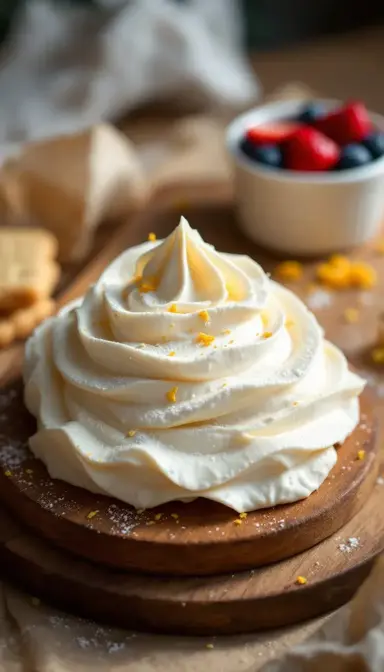
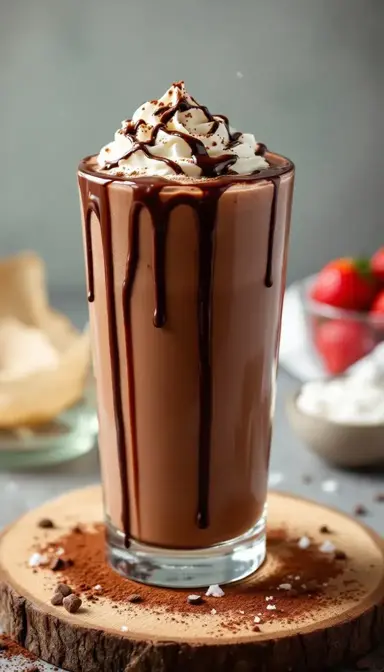
Pour into the chilled glass, top with lightly sweetened Whipped Cream, and garnish with a maraschino cherry. Use a long spoon or straw to enjoy the layered texture—creamy at the top, denser at the bottom.
Pro Technique
- Temperature Mastery: Partially softened ice cream (5–7 minutes at room temp) blends smoothly without overworking the fats, which can make the shake grainy. For an ultra-thick shake, freeze the 1 cup milk into ice cubes and blend with ½ cup liquid milk.
- Pulse-and-Scrape Method: High-powered blenders can over-aerate the shake. Use short 5-second pulses, scraping the sides between bursts, to maintain a dense, creamy texture. For a malt-like finish, fold in 1 tbsp malt powder by hand after blending.
Chef’s Wisdom
- Vanilla Quality: Most people underestimate vanilla. Real vanilla bean paste or fresh seeds deliver floral, caramel-like depth that extract alone can’t match. If using extract, opt for double-strength and add it after blending to preserve its aroma. (Imitation vanilla works in a pinch but lacks complexity.)
- Dairy Decisions: Whole milk’s 3.5% fat binds with the ice cream’s butterfat for a silky emulsion. For lower-fat milks, replace ¼ cup milk with heavy cream or add ½ tbsp melted butter. For dairy-free, coconut milk ice cream mimics the texture best—add 1 tsp xanthan gum if using almond milk for thickness.
Storage & Freshness Guide
- Storage Tips: Milkshakes are best fresh, but leftovers can be frozen in an airtight jar (leave 1-inch headspace). To revive, thaw for 10 minutes, then re-blend with 1–2 tbsp milk. Avoid freezing shakes with mix-ins (e.g., fruit, cookies)—they turn icy.
Ingredient Variations and Their Impact
- Espresso Shake: Replace ¼ cup milk with cold brew concentrate for a bitter-sweet contrast.
- Berry Blast: Blend in ½ cup frozen strawberries (macerated in 1 tsp sugar for extra flavor).
- Malted Magic: Add 1–2 tbsp malt powder for a toasty, nostalgic kick.
Perfect Pairings
Complementary Dishes
- Classic Burger & Fries: The shake’s sweetness cuts through the saltiness, while its creaminess contrasts the burger’s char.
- Grilled Cheese Sandwich: A childhood favorite—vanilla’s warmth plays off gooey, savory cheese (try sharp cheddar).
Drinks
- Cold Brew Coffee: Sip alongside or blend into the shake for a vanilla latte effect.
- Bourbon or Kahlúa: For adults, a 1-oz drizzle adds smoky or caramel notes.
Something Sweet
- Warm Apple Pie: Use the shake as a cooling custard alternative to à la mode.
- Dark Chocolate Brownie: Crumble a brownie on top for bitter-sweet contrast.


The Ultimate Vanilla Milkshake: Creamy, Dreamy, and Done Right
Learn how to make the perfect Vanilla Milkshake: thick, creamy, and bursting with real vanilla flavor. Get my easy, pro-level recipe now!
Ingredients
Main
-
2 cups premium vanilla ice cream (slightly softened)
-
1 cup whole milk
-
1 tsp pure vanilla extract
-
1 tbsp granulated sugar
-
Pinch salt
Instructions
-
Chill the serving glass in the freezer for 10–15 minutes.01
-
Layer ingredients in the blender: 2 cups ice cream, 1 cup milk, 1 tsp vanilla, 1 tbsp sugar, and pinch of salt.02
-
Blend on low for 10 seconds, then high for 20–30 seconds until smooth.03
-
Adjust thickness with 1 tbsp milk or scoop of ice cream as needed.04
-
Pour into the chilled glass, top with whipped cream, and serve immediately.05
Not what you're looking for?
FIND MORE RECIPES
LAST CHANCE