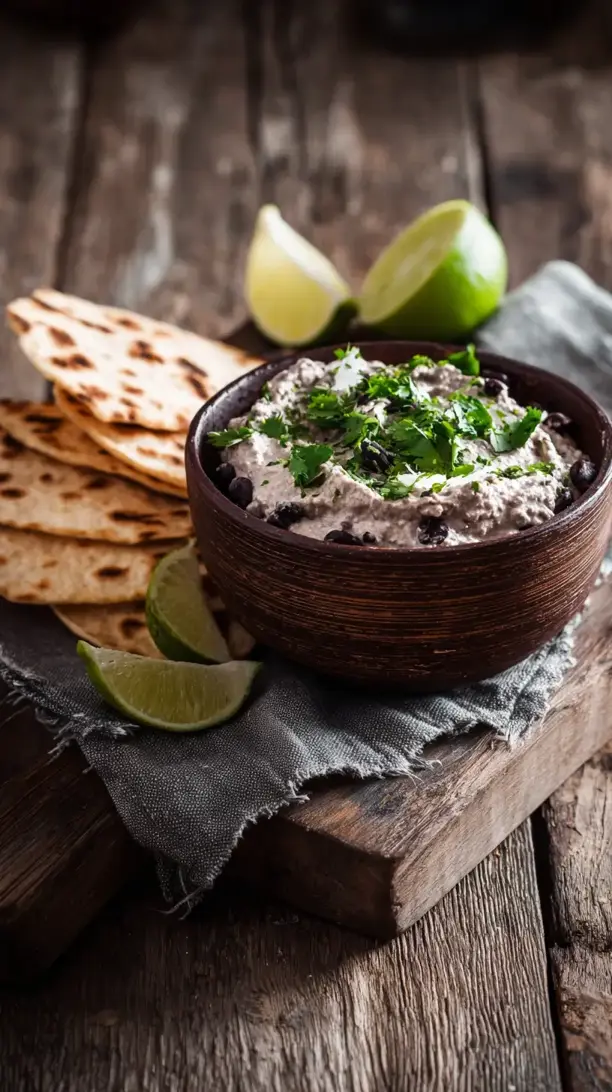
This vibrant Black Bean Dip is creamy, flavorful, and incredibly easy to make. Using mostly pantry staples, it comes together in 10 minutes with no cooking required. The fresh lime and cilantro brighten it up, while spices add warm, earthy depth.
Craving a delicious Black Bean Dip? You've come to the right spot! From Snacks favorites to amazing Breakfast & Brunch recipes, there's something here for everyone.


Why You’ll Love This Black Bean Dip
- Incredibly versatile: Use as a dip, spread, or filling.
- Perfectly dippable texture: Smooth and creamy with a bit of bean texture.
- Better with time: Flavors deepen beautifully after resting.
- Nutritional powerhouse: Packed with plant-based protein and fiber.
Ingredients & Tools
- 2 cans (15 oz / 425 g each) black beans, rinsed and drained
- 1/3 cup (80 ml) fresh lime juice (from about 2-3 limes)
- 1/4 cup (60 ml) extra-virgin olive oil
- 1/3 cup (20 g) fresh cilantro, packed (stems are fine!)
- 1 small garlic clove, roughly chopped
- 1 tsp ground cumin
- 1/2 tsp smoked paprika
- 1/4 tsp chili powder, or to taste
- 1/4 cup (60 g) Greek yogurt or sour cream (for creaminess)
- Salt and freshly ground black pepper to taste
- 2-3 tbsp water, as needed for consistency
Tools: A food processor or high-speed blender, a rubber spatula, and a small bowl for serving.
Notes: Don’t skip rinsing the beans—it removes starchy liquid for a cleaner flavor. Fresh lime juice is non-negotiable for bright zest.
Nutrition (per serving)
| Calories: | 125 kcal |
| Protein: | 6 g |
| Fat: | 5 g |
| Carbs: | 15 g |
| Fiber: | 5 g |
Serves: 6 | Prep Time: 10 minutes | Cook Time: 0 minutes | Total Time: 10 minutes
Before You Start: Tips & Ingredient Notes
- Rinse those beans thoroughly. This is the single most important step for great flavor. The liquid in the can is often salty and starchy, which can make your dip taste muddy and overly thick. A good rinse under cold water ensures a clean, vibrant bean taste.
- Why smoked paprika? It adds a subtle, smoky depth that regular paprika just doesn’t have. It mimics the complexity you’d get from slow-cooking, giving this no-cook dip a wonderfully rounded flavor profile. If you only have sweet paprika, it will work, but the smoky version is a game-changer.
- Don’t be shy with the lime. The acidity is crucial for balancing the earthy beans and rich olive oil. Start with the recommended amount, but always taste at the end and add more if you feel it needs an extra zing to really wake up all the other ingredients.
- The power of resting time. While you can eat this dip immediately, its flavor truly blossoms after 30-60 minutes in the refrigerator. The ingredients have time to get to know each other, resulting in a more harmonious and complex final product.
How to Make Black Bean Dip
Step 1: Get all your ingredients prepped and ready to go. This is a fast recipe, so having everything measured and within arm’s reach makes the process seamless. Rinse your black beans in a colander under cold running water, shaking them gently to ensure all the canning liquid is washed away. Let them drain completely while you juice your limes and chop your garlic. You’ll notice that starting with dry beans helps control the final consistency of the dip.
Step 2: Combine the base ingredients in your food processor or blender. Add the rinsed black beans, fresh lime juice, olive oil, cilantro, and the chopped garlic clove. The trick here is to pulse a few times first to break everything down before you let it run. This prevents the blades from getting stuck and ensures a more even blend. You should see the ingredients start to come together into a coarse paste.
Step 3: Add the spices and creaminess agent. Now, sprinkle in the ground cumin, smoked paprika, and chili powder. Add your Greek yogurt or sour cream as well. A little goes a long way here—the yogurt adds a tangy creaminess that lightens the whole dip. Now, secure the lid and process until the mixture is mostly smooth. You’re aiming for a creamy texture, but it’s okay—even desirable—to have a few tiny bits of bean for a bit of texture.
Step 4: Check the consistency and season. Stop the machine and scrape down the sides with a rubber spatula. Take a taste. This is your moment to adjust. Does it need more salt? A crack of black pepper? Perhaps another squeeze of lime? If the dip seems too thick for your liking, with the motor running, drizzle in a tablespoon or two of water until it reaches your perfect, dippable consistency. The sauce should look glossy and easily spreadable.
Step 5: The final rest and serve. Transfer your beautifully blended dip to a serving bowl. If you have the time, cover it with plastic wrap and let it chill in the refrigerator for at least 30 minutes. Honestly, this wait is worth it—the flavors meld and become so much more cohesive. When you’re ready, give it a quick stir, drizzle with a tiny bit more olive oil, and maybe a sprinkle of paprika for color, and it’s ready to devour.
Storage & Freshness Guide
- Fridge: Store in an airtight container for 4–5 days.
- Freezer: Not recommended; texture becomes grainy after thawing.
- Reviving: If thick, stir in water or lime juice. If separated, re-whip briefly.
Serving Suggestions
Complementary Dishes
- A platter of crunchy vegetables — The cool, crisp freshness of bell peppers, cucumber, and carrot sticks provides a wonderful contrast to the creamy, rich dip.
- Warm, lightly salted tortilla chips — This is the classic pairing for a reason. The salty, corn-forward flavor of the chips is the perfect vehicle for the earthy bean dip.
- As a spread on fish tacos — Swap out the usual crema for a generous smear of this dip. Its creaminess and spice work beautifully with flaky white fish and a crunchy slaw.
Drinks
- A crisp, Mexican lager — The light, effervescent beer cuts through the dip’s richness and cleanses the palate between bites, making each scoop taste like the first.
- A classic margarita on the rocks — The citrus notes in the cocktail are a fantastic echo of the fresh lime juice in the dip, creating a harmonious flavor experience.
- Sparkling water with a lime wedge — For a non-alcoholic option, the bubbles are refreshing and the lime garnish ties everything together beautifully.
Something Sweet
- Fresh mango slices with a chili-lime sprinkle — The sweet, juicy mango provides a delightful palate cleanser, while the chili and lime echo the flavors you just enjoyed.
- Shortbread cookies or vanilla wafers — The simple, buttery sweetness is a lovely, gentle finish after the savory and spiced notes of the dip.
- A small dish of lemon sorbet — Its bright, tart flavor is incredibly refreshing and acts as a perfect “reset” for your taste buds at the end of your snack.
Top Mistakes to Avoid
- Mistake: Not rinsing the canned beans. I’ve messed this up before too, thinking a little liquid wouldn’t hurt. It makes the dip taste tinny and overly thick, masking the fresh flavors you’re working so hard to build.
- Mistake: Over-processing the dip. You’re not trying to make a completely silken puree. A little texture from the beans is lovely and gives the dip a more homemade, rustic feel. Pulse until it’s just combined and creamy.
- Mistake: Skipping the taste-and-adjust step. Recipes are guides, not gospel. Your limes might be less juicy, your beans might be a different brand. Always taste before serving and adjust the salt, acid, or spice to make it perfect for you.
- Mistake: Using stale spices. Ground spices lose their potency over time. If your cumin or paprika doesn’t smell like much when you open the jar, it’s time for a new one. Fresh spices are essential for a flavorful dip.
Expert Tips
- Tip: Toast your own spices. For a next-level flavor boost, gently toast whole cumin seeds in a dry skillet for a minute until fragrant, then grind them yourself. The difference in aroma and depth is honestly astounding.
- Tip: Add a roasted element. If you have an extra 20 minutes, roast a head of garlic. Squeeze the soft, sweet cloves into the food processor along with the raw garlic. It adds a mellow, caramelized complexity that’s just divine.
- Tip: Make it ahead for best flavor. This dip is the ultimate make-ahead appetizer. Preparing it a day in advance allows the flavors to fully marry. Just give it a good stir and adjust the consistency with a touch of water or lime juice before serving.
- Tip: Customize the heat level. The recipe is mildly spiced. For more heat, add a seeded jalapeño to the processor, or include a teaspoon of the adobo sauce from a can of chipotle peppers for a smoky, spicy kick.
FAQs
Can I make this dip without a food processor?
Absolutely! You can use a high-powered blender, though you may need to stop and scrape down the sides more frequently. If you don’t have either, you can mash the beans by hand with a potato masher or fork. It will be chunkier, but still delicious. Just make sure to mince your garlic and cilantro very finely before mixing everything together in a bowl.
How long does black bean dip last in the fridge?
Stored in an airtight container, this dip will keep beautifully for up to 4-5 days. The flavors continue to develop, so it might even taste better on day two or three! You might notice a little liquid separation after a day—just give it a good stir before serving, and it will come right back together.
Can I freeze black bean dip?
You can, but the texture will change. The water content in the beans and other ingredients can cause it to become a bit grainy upon thawing. It’s best enjoyed fresh or refrigerated. If you must freeze it, thaw it overnight in the fridge and then re-whip it in the food processor with a splash of fresh lime juice to revive the texture.
Is this dip vegan?
It easily can be! The recipe as written uses Greek yogurt, but simply substitute it with a plant-based yogurt or a tablespoon of tahini for that creamy element. Just ensure all your other ingredients are vegan-friendly, and you’re all set for a fantastic plant-based dip.
My dip turned out too thick. How can I thin it?
No worries, this is a common and easy fix! Simply add more liquid. A tablespoon of water, extra lime juice, or even a bit more olive oil at a time, blending between each addition, will get you to the perfect consistency. Add slowly—you can always add more, but you can’t take it out!


Black Bean Dip
Make this easy 10-minute Black Bean Dip with pantry staples! It's creamy, healthy, and perfect for parties. Get the no-cook recipe now!
Ingredients
For the Ingredients & Tools
-
2 cans black beans (15 oz / 425 g each, rinsed and drained)
-
1/3 cup fresh lime juice (80 ml, from about 2-3 limes)
-
1/4 cup extra-virgin olive oil (60 ml)
-
1/3 cup fresh cilantro (20 g, packed, stems are fine)
-
1 small clove garlic (roughly chopped)
-
1 tsp ground cumin
-
1/2 tsp smoked paprika
-
1/4 tsp chili powder (or to taste)
-
1/4 cup Greek yogurt or sour cream (60 g, for creaminess)
-
Salt and freshly ground black pepper (to taste)
-
2-3 tbsp water (as needed for consistency)
Instructions
-
Get all your ingredients prepped and ready to go. This is a fast recipe, so having everything measured and within arm's reach makes the process seamless. Rinse your black beans in a colander under cold running water, shaking them gently to ensure all the canning liquid is washed away. Let them drain completely while you juice your limes and chop your garlic. You’ll notice that starting with dry beans helps control the final consistency of the dip.01
-
Combine the base ingredients in your food processor or blender. Add the rinsed black beans, fresh lime juice, olive oil, cilantro, and the chopped garlic clove. The trick here is to pulse a few times first to break everything down before you let it run. This prevents the blades from getting stuck and ensures a more even blend. You should see the ingredients start to come together into a coarse paste.02
-
Add the spices and creaminess agent. Now, sprinkle in the ground cumin, smoked paprika, and chili powder. Add your Greek yogurt or sour cream as well. A little goes a long way here—the yogurt adds a tangy creaminess that lightens the whole dip. Now, secure the lid and process until the mixture is mostly smooth. You’re aiming for a creamy texture, but it’s okay—even desirable—to have a few tiny bits of bean for a bit of texture.03
-
Check the consistency and season. Stop the machine and scrape down the sides with a rubber spatula. Take a taste. This is your moment to adjust. Does it need more salt? A crack of black pepper? Perhaps another squeeze of lime? If the dip seems too thick for your liking, with the motor running, drizzle in a tablespoon or two of water until it reaches your perfect, dippable consistency. The sauce should look glossy and easily spreadable.04
-
The final rest and serve. Transfer your beautifully blended dip to a serving bowl. If you have the time, cover it with plastic wrap and let it chill in the refrigerator for at least 30 minutes. Honestly, this wait is worth it—the flavors meld and become so much more cohesive. When you’re ready, give it a quick stir, drizzle with a tiny bit more olive oil, and maybe a sprinkle of paprika for color, and it’s ready to devour.05
Not what you're looking for?


