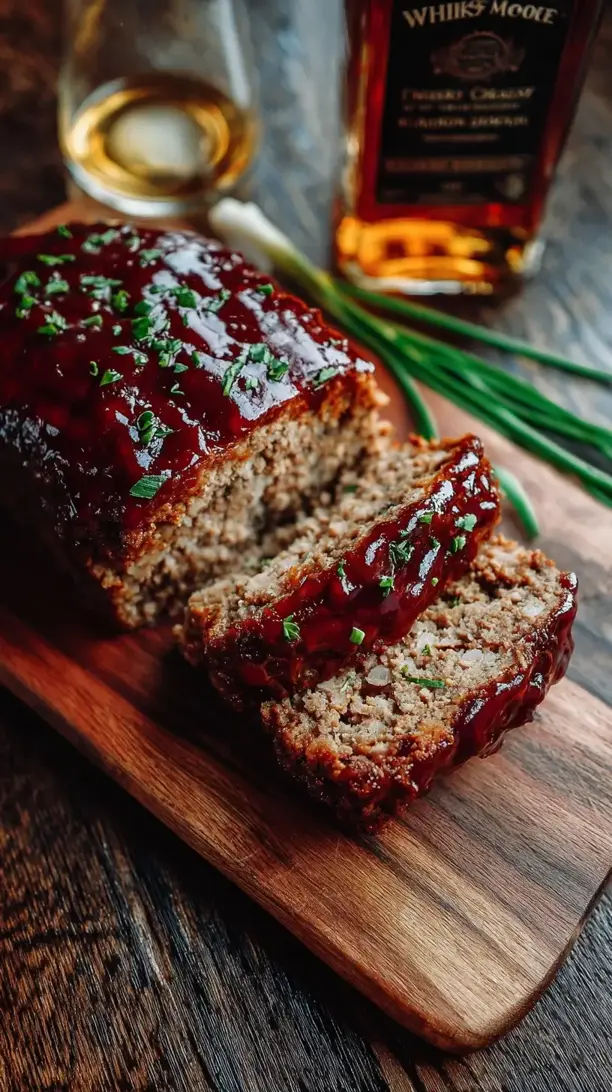
This Denver Omelet Meatloaf solves the breakfast-for-dinner dilemma by baking classic omelet fillings right into a juicy, comforting meatloaf. It’s a fun twist on two favorites that’s sure to become a weeknight hero. The aroma alone will have everyone eagerly waiting at the table.
Craving a delicious Denver Omelet Meatloaf? You've come to the right spot! From Meatloaf Recipes favorites to amazing Burgers recipes, there's something here for everyone.

Why You’ll Love This Denver Omelet Meatloaf
- Two-in-one dinner: Enjoy hearty meatloaf comfort and beloved Denver omelet flavors in one easy slice.
- Phenomenal texture: Every bite is a juicy, tender, cheesy mix that’s far from boring.
- Fantastic leftovers: Flavors meld overnight for amazing next-day sandwiches or quick lunches.
- Versatile and forgiving: Easily swap peppers or cheese to make this recipe your own.
Ingredients & Tools
- 1 tbsp olive oil
- 1 medium yellow onion, finely diced
- 1 green bell pepper, finely diced
- 2 cloves garlic, minced
- 1 ½ lbs ground beef (I prefer 85/15 for optimal juiciness)
- 1 cup cooked ham, diced into small cubes
- 1 cup panko breadcrumbs
- 2 large eggs, lightly beaten
- 1 cup sharp cheddar cheese, shredded, divided
- ⅓ cup whole milk
- 2 tbsp Worcestershire sauce
- 1 tbsp Dijon mustard
- 1 tsp smoked paprika
- ¾ tsp kosher salt
- ½ tsp freshly ground black pepper
- 2 tbsp ketchup (optional, for glaze)
- 1 tbsp brown sugar (optional, for glaze)
Tools: A standard 9×5-inch loaf pan, a large mixing bowl, a skillet, and an instant-read thermometer are your best friends here.
Notes: Don’t skip sautéing the veggies first—it softens them and deepens the flavor.
Nutrition (per serving)
| Calories: | 420 kcal |
| Protein: | 32 g |
| Fat: | 25 g |
| Carbs: | 15 g |
| Fiber: | 1 g |
Serves: 6 | Prep Time: 20 minutes | Cook Time: 1 hour | Total Time: 1 hour 20 minutes
Storage & Freshness Guide
- Fridge: Cool completely, wrap tightly, and store for up to 4 days.
- Freezer: Wrap whole loaf or slices tightly in plastic and foil; freeze up to 3 months.
- Reviving: Reheat slices gently in oven (covered, 325°F) or microwave with a damp paper towel.
Serving Suggestions
Complementary Dishes
- Garlic Mashed Potatoes — The ultimate comfort food pairing. The creamy, buttery potatoes are a perfect canvas for the savory, juicy meatloaf.
- A Simple Arugula Salad — Tossed with a lemony vinaigrette, the peppery arugula provides a fresh, bright contrast that cuts through the richness of the dish beautifully.
- Buttery Corn on the Cob — The sweet, crisp kernels echo the sweetness of the bell peppers inside the meatloaf, creating a wonderfully harmonious plate.
Drinks
- A Crisp Lager or Pilsner — The clean, effervescent quality of a light beer helps cleanse the palate between bites of the hearty meatloaf.
- Iced Tea with Lemon — Unsweetened or slightly sweetened, it’s a refreshing, non-alcoholic option that complements the savory and slightly sweet notes without overpowering them.
Something Sweet
- Warm Apple Crisp — The cozy, cinnamon-spiced apples and oat topping feel like a natural, comforting progression after the savory main course.
Before You Start: Tips & Ingredient Notes
- Why sauté the vegetables? It might be tempting to throw them in raw to save time, but trust me on this. Sautéing not only softens the texture so you don’t get crunchy bits in your meatloaf, but it also caramelizes them slightly, adding a wonderful sweetness and depth that raw veggies just can’t provide.
- What’s the deal with the breadcrumbs and milk? This combo is your secret weapon for a tender, moist meatloaf. The panko breadcrumbs are lighter and airier than traditional breadcrumbs, and when soaked in the milk, they create a panade—a paste that helps bind the meatloaf without making it dense. It’s the key to a perfect, non-rubbery texture.
- Can I use a different meat? Absolutely! A mix of ground beef and pork is fantastic, or you could use all ground turkey if you prefer. Just be mindful that leaner meats can dry out more easily, so you might want to add an extra tablespoon of olive oil or milk to the mixture.
- Don’t overmix! When combining your ingredients, use your hands and mix just until everything is incorporated. Overworking the meat mixture will activate the proteins too much and result in a tough, dense final product. A gentle touch is your friend.
How to Make Denver Omelet Meatloaf
Step 1: Start by preheating your oven to 375°F (190°C). This ensures it’s perfectly heated and ready to go when your meatloaf is assembled. While it warms up, grab your skillet and heat the olive oil over medium heat. Add the diced onion and green pepper and cook, stirring occasionally, for about 6-8 minutes. You’ll notice the onions becoming translucent and the peppers softening beautifully. Add the minced garlic and cook for one more minute, just until fragrant. Then, take the skillet off the heat and let this mixture cool completely. This is important—adding hot veggies to the meat can start cooking the eggs prematurely.
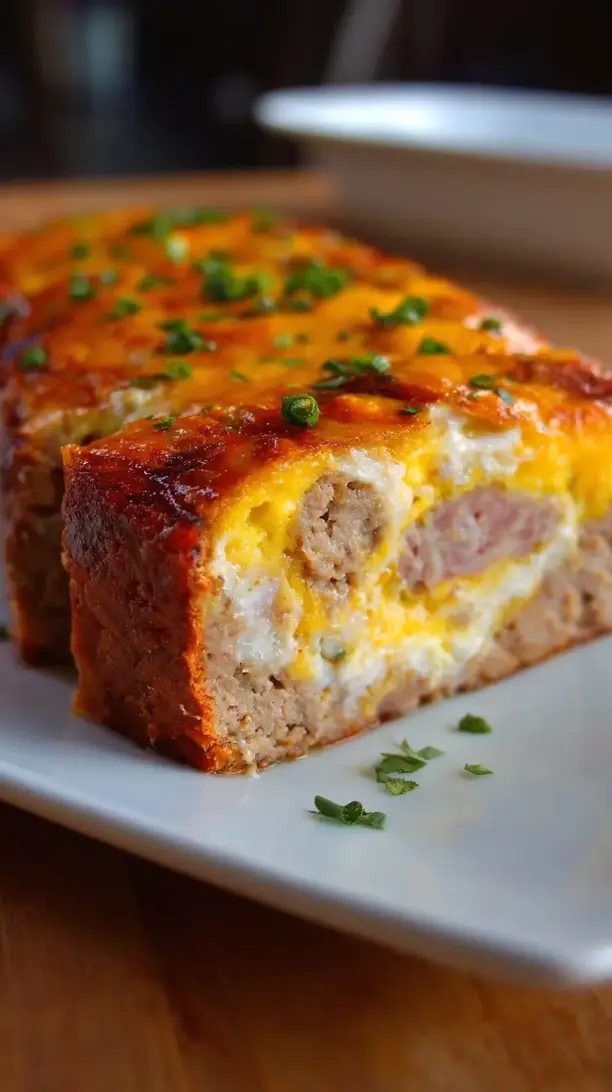
Step 2: In your large mixing bowl, combine the ground beef, diced ham, and the now-cooled onion and pepper mixture. To this, add the panko breadcrumbs, the lightly beaten eggs, 3/4 cup of the shredded cheddar cheese (reserving the rest for the top!), milk, Worcestershire sauce, Dijon mustard, smoked paprika, salt, and pepper. Now, the fun part: use your clean hands to mix everything together. The trick is to be gentle and mix just until all the ingredients are evenly distributed. You should see little flecks of pepper and ham throughout.
Step 3: Transfer the meat mixture to your ungreased 9×5-inch loaf pan. Why ungreased? The fat from the meat will render out as it cooks, naturally preventing it from sticking. Use your hands or a spatula to press the mixture firmly and evenly into the pan, creating a smooth, domed top on the surface. This helps it cook evenly and gives it that classic meatloaf shape.
Step 4: If you’re using the optional glaze, now is the time! In a small bowl, stir together the ketchup and brown sugar until smooth. Spread this mixture evenly over the top of the meatloaf. It will caramelize in the oven and create a slightly sweet, tangy, and sticky crust that is just divine. Even without the glaze, the meatloaf is fantastic, but this little step adds a wonderful diner-style finish.
Step 5: Place the loaf pan in the preheated oven and bake for 45 minutes. After this time, carefully remove the meatloaf from the oven and sprinkle the remaining 1/4 cup of cheddar cheese over the top. The aroma at this point is just incredible. Return it to the oven and bake for another 15-20 minutes, or until the cheese is bubbly and golden, and the internal temperature of the meatloaf registers 160°F (71°C) on an instant-read thermometer inserted into the center.
Step 6: Once perfectly cooked, take the meatloaf out of the oven. This is the hardest part: you must let it rest! Allow it to sit in the pan on a wire rack for at least 10-15 minutes before slicing. This allows the juices to redistribute throughout the loaf. If you cut into it right away, all those lovely juices will run out, leaving you with a drier result. The wait is absolutely worth it for the perfect, sliceable texture.
Top Mistakes to Avoid
- Mistake: Skipping the veggie cool-down. Adding hot sautéed vegetables to your meat mixture can begin to cook the eggs, leading to a weird texture and potential uneven cooking. Always let them cool to at least room temperature.
- Mistake: Overpacking the loaf pan. When you press the meat mixture into the pan, be firm but don’t compact it like a brick. You want it to be held together, but still have a light, airy structure that allows heat to penetrate evenly.
- Mistake: Skipping the rest time. I’ve messed this up before too, in a rush to eat. Slicing the meatloaf straight from the oven causes it to crumble and lose its precious juices. Letting it rest is non-negotiable for the perfect slice.
- Mistake: Not using a thermometer. Guessing if it’s done is a recipe for dry or undercooked meatloaf. An instant-read thermometer is the only surefire way to know it’s perfectly cooked to a safe 160°F at the center.
Expert Tips
- Tip: For an extra flavor boost, try using a smoked cheddar or a pepper jack cheese. It adds another layer of complexity that plays so well with the ham and peppers.
- Tip: If you have the time, you can shape the meatloaf freeform on a parchment-lined baking sheet instead of using a loaf pan. This allows the fat to drain away and gives you more caramelized surface area all around.
- Tip: For a super-moist result, you can add a tablespoon of tomato paste to the meat mixture along with the other wet ingredients. It deepens the color and adds a rich, umami background note.
- Tip: Make a double batch and freeze one! After baking and cooling, wrap the whole meatloaf or individual slices tightly in plastic wrap and then foil. It reheats beautifully for a future stress-free meal.
FAQs
Can I make this Denver Omelet Meatloaf ahead of time?
Absolutely, and it’s a great time-saver! You can assemble the entire meatloaf, cover it tightly with plastic wrap, and refrigerate it for up to 24 hours before you need to bake it. Just let it sit on the counter for about 20-30 minutes to take the chill off before putting it in the oven. You may need to add a few extra minutes to the baking time since it’s starting from cold.
What’s the best way to reheat leftovers?
The best method to maintain moisture is to reheat it gently. For a single slice, place it on a microwave-safe plate, cover it with a damp paper towel, and heat on medium power in 30-second intervals until warm. For multiple slices, I prefer the oven: arrange them on a baking sheet, cover loosely with foil, and warm at 325°F for about 10-15 minutes. This keeps the texture perfect.
I don’t eat pork. Can I omit the ham?
Of course! The recipe will still be delicious. You can simply leave it out for a plain cheeseburger-style meatloaf, or substitute it with an equal amount of diced, cooked turkey or chicken breast. You could even add in some sautéed mushrooms for a different kind of savory, meaty texture.
Why did my meatloaf crack on top?
A little cracking is totally normal and often a sign of a well-risen, light meatloaf! It usually happens due to the rapid expansion of the meat and air pockets during cooking. If it’s a very deep crack, the oven temperature might have been a bit high, causing the exterior to set too quickly. Don’t worry—it doesn’t affect the taste at all!
Can I use a different type of breadcrumb?
You can, but the results will vary slightly. Panko gives the lightest texture. Regular, fine, dry breadcrumbs will work but will create a denser, more compact meatloaf. If you’re using fresh breadcrumbs, you’ll want to reduce the milk slightly, maybe by a tablespoon, as they absorb liquid differently.


Denver Omelet Meatloaf
Make this easy Denver Omelet Meatloaf for a delicious twist on two classics. Perfect for weeknight dinners and amazing leftovers. Get the recipe now!
Ingredients
For the Ingredients
-
1 tbsp olive oil
-
1 medium yellow onion (finely diced)
-
1 green bell pepper (finely diced)
-
2 cloves garlic (minced)
-
1 ½ lbs ground beef
-
1 cup cooked ham (diced into small cubes)
-
1 cup panko breadcrumbs
-
2 large eggs (lightly beaten)
-
1 cup sharp cheddar cheese (shredded, divided)
-
⅓ cup whole milk
-
2 tbsp Worcestershire sauce
-
1 tbsp Dijon mustard
-
1 tsp smoked paprika
-
¾ tsp kosher salt
-
½ tsp freshly ground black pepper
-
2 tbsp ketchup
-
1 tbsp brown sugar
Instructions
-
Start by preheating your oven to 375°F (190°C). This ensures it’s perfectly heated and ready to go when your meatloaf is assembled. While it warms up, grab your skillet and heat the olive oil over medium heat. Add the diced onion and green pepper and cook, stirring occasionally, for about 6-8 minutes. You’ll notice the onions becoming translucent and the peppers softening beautifully. Add the minced garlic and cook for one more minute, just until fragrant. Then, take the skillet off the heat and let this mixture cool completely. This is important—adding hot veggies to the meat can start cooking the eggs prematurely.01
-
In your large mixing bowl, combine the ground beef, diced ham, and the now-cooled onion and pepper mixture. To this, add the panko breadcrumbs, the lightly beaten eggs, 3/4 cup of the shredded cheddar cheese (reserving the rest for the top!), milk, Worcestershire sauce, Dijon mustard, smoked paprika, salt, and pepper. Now, the fun part: use your clean hands to mix everything together. The trick is to be gentle and mix just until all the ingredients are evenly distributed. You should see little flecks of pepper and ham throughout.02
-
Transfer the meat mixture to your ungreased 9x5-inch loaf pan. Why ungreased? The fat from the meat will render out as it cooks, naturally preventing it from sticking. Use your hands or a spatula to press the mixture firmly and evenly into the pan, creating a smooth, domed top on the surface. This helps it cook evenly and gives it that classic meatloaf shape.03
-
If you're using the optional glaze, now is the time! In a small bowl, stir together the ketchup and brown sugar until smooth. Spread this mixture evenly over the top of the meatloaf. It will caramelize in the oven and create a slightly sweet, tangy, and sticky crust that is just divine. Even without the glaze, the meatloaf is fantastic, but this little step adds a wonderful diner-style finish.04
-
Place the loaf pan in the preheated oven and bake for 45 minutes. After this time, carefully remove the meatloaf from the oven and sprinkle the remaining 1/4 cup of cheddar cheese over the top. The aroma at this point is just incredible. Return it to the oven and bake for another 15-20 minutes, or until the cheese is bubbly and golden, and the internal temperature of the meatloaf registers 160°F (71°C) on an instant-read thermometer inserted into the center.05
-
Once perfectly cooked, take the meatloaf out of the oven. This is the hardest part: you must let it rest! Allow it to sit in the pan on a wire rack for at least 10-15 minutes before slicing. This allows the juices to redistribute throughout the loaf. If you cut into it right away, all those lovely juices will run out, leaving you with a drier result. The wait is absolutely worth it for the perfect, sliceable texture.06
Not what you're looking for?