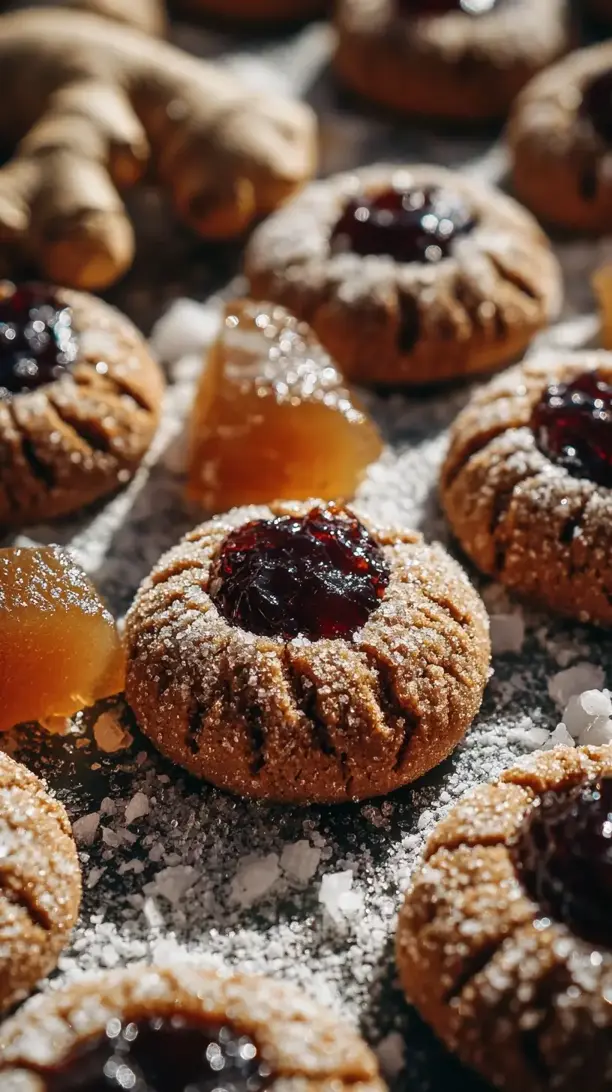
There’s a certain magic that happens in the kitchen this time of year, and for me, it’s perfectly captured in these Gingerbread Thumbprints. They truly are like a warm, spiced hug in cookie form. I love how they bring people together, offering a delightful twist as unique Christmas cookies that stand out on any holiday tray. If you’re searching for memorable Christmas cookies recipes, this one, with its soft, chewy gingerbread and sweet filled center, is a beautiful place to start. It’s a wonderful addition to your collection of holiday cookies Christmas traditions.
I think you’ll find this recipe is among my favorite Christmas baking ideas because it’s as simple as it is special. They come together with such ease, making them perfect easy Christmas treats whether you’re baking with family or whipping up a last-minute batch. This bit of holiday baking fills your home with the most incredible scent of molasses and spice—it’s the aroma of the season itself.
In the end, these cookies are more than just a dessert; they’re edible comfort. I love to present them as a cherished part of my Christmas dessert ideas, whether at a cookie swap or as the sweet finale to a festive dinner. Each little thumbprint is a bite-sized celebration.
Looking for Gingerbread Thumbprints inspiration? You'll love what we have! Explore more Christmas Cookie recipes or discover our Burgers favorites.


Why You’ll Love This Gingerbread Thumbprints
- Perfect Texture: Classic gingerbread chew meets a soft, yielding bite.
- Surprisingly Simple: One-bowl dough with fun, no-fuss shaping.
- Incredibly Versatile: Customize with buttercream, curd, or ganache.
- Holiday Aroma: Fills your kitchen with warm molasses and spice.
Ingredients & Tools
- 225 g (1 cup) unsalted butter, softened
- 150 g (¾ cup) packed dark brown sugar
- 1 large egg, at room temperature
- 80 ml (¼ cup) molasses (not blackstrap)
- 1 tsp vanilla extract
- 315 g (2 ½ cups) all-purpose flour
- 1 tsp baking soda
- ½ tsp salt
- 2 tsp ground ginger
- 1 ½ tsp ground cinnamon
- ½ tsp ground cloves
- ¼ tsp ground nutmeg
- For the Filling: About ½ cup of your choice: vanilla buttercream, royal icing, or lemon curd
- For Rolling: Granulated sugar, for coating
Tools: A stand mixer or hand mixer, two baking sheets, parchment paper, a small bowl for sugar.
Notes: Using dark brown sugar and robust molasses is key for deep flavor and color. Don’t skip rolling the dough balls in sugar for a delicate crunch.
Nutrition (per serving)
| Calories: | 180 kcal |
| Protein: | 2 g |
| Fat: | 8 g |
| Carbs: | 26 g |
| Fiber: | 0.5 g |
Serves: 24 | Prep Time: 20 minutes | Cook Time: 10 minutes | Total Time: 1 hour (includes chilling)
Before You Start: Tips & Ingredient Notes
- Your butter temperature matters. Softened butter should be cool to the touch but yield easily when pressed. If it’s too warm, your dough will be greasy and spread too much. If it’s too cold, it won’t cream properly with the sugar.
- Don’t use blackstrap molasses. It’s much more bitter and intense. You want the lighter, sweeter “light” or “original” molasses for that classic, balanced gingerbread flavor. It makes all the difference.
- Chill the dough, no shortcuts. I know it’s tempting to skip this, but a quick 30-minute chill firms up the butter and allows the flour to hydrate. This prevents your thumbprint wells from puffing up and disappearing in the oven.
- Get creative with your “thumb.” The end of a wooden spoon handle or the back of a small, round measuring spoon actually creates a more uniform and neater indentation than your thumb. It’s a little pro-trick that works wonders.
How to Make Gingerbread Thumbprints
Step 1: Cream the Butter and Sugar. In the bowl of your stand mixer fitted with the paddle attachment, beat the softened butter and dark brown sugar together on medium speed for about 2-3 minutes. You’re looking for it to become light, pale, and fluffy. This step is crucial for incorporating air, which helps give the cookies a tender texture. Scrape down the sides of the bowl with a spatula to ensure everything is well combined.
Step 2: Add the Wet Ingredients. Beat in the egg, followed by the molasses and vanilla extract. The mixture might look a little curdled at this point—that’s perfectly normal, so don’t worry. Just mix until everything is as smooth as you can get it. You’ll notice that incredible, spiced aroma starting to come alive already from the molasses.
Step 3: Combine the Dry Ingredients. In a separate medium bowl, whisk together the flour, baking soda, salt, and all the spices: ginger, cinnamon, cloves, and nutmeg. Whisking them first ensures the leavening and spices are evenly distributed throughout the flour, so every single cookie is perfectly spiced.
Step 4: Bring the Dough Together. With the mixer on low speed, gradually add the dry ingredients to the wet ingredients. Mix just until the flour streaks disappear and a soft dough forms. Be careful not to overmix! The dough will be quite soft and a little sticky, which is exactly what you want.
Step 5: Chill the Dough. Cover the bowl with plastic wrap and refrigerate the dough for at least 30 minutes. This firms up the butter, making the dough much easier to handle and roll. It also prevents excessive spreading, which is key for maintaining those beautiful thumbprint wells.
Step 6: Preheat and Prepare. While the dough chills, preheat your oven to 350°F (175°C). Line two large baking sheets with parchment paper. Place about ½ cup of granulated sugar in a small bowl. This setup makes the assembly line process smooth and efficient.
Step 7: Roll and Coat. Scoop out about 1 tablespoon of dough for each cookie. Roll it between your palms to form a smooth ball. Roll each ball in the granulated sugar until it’s fully coated. This adds a subtle sparkle and a lovely, delicate crunch to the finished cookie.
Step 8: Create the Thumbprint. Place the sugar-coated dough balls about 2 inches apart on the prepared baking sheets. Now, use your thumb, the end of a wooden spoon, or the back of a ½ teaspoon measure to press a deep, clear indentation into the center of each ball. Don’t be shy—press firmly, but try not to crack the sides.
Step 9: Bake to Perfection. Bake for 9-11 minutes, or until the cookies look set and the edges are just barely starting to firm up. The centers will still look a little soft, and the thumbprints might have puffed up a bit. You’ll notice a beautiful crackled surface forming. They firm up a lot as they cool.
Step 10: Re-shape and Cool. As soon as the cookies come out of the oven, take the end of your spoon or measuring spoon and gently re-press the indentations. This is the secret to having a perfect, well-defined well for your filling! Let the cookies cool on the baking sheet for 5 minutes before transferring them to a wire rack to cool completely.
Step 11: Fill and Serve. Once the cookies are completely cool, it’s time for the fun part! Fill the indentations with your chosen filling. A piping bag with a round tip makes this neat and easy, but a small spoon works just fine. A little goes a long way—fill them just to the brim.
Storage & Freshness Guide
- Fridge: Store unfilled cookies in an airtight container at room temperature for up to 5 days.
- Freezer: Freeze unfilled cookies in a single layer, then transfer to an airtight container for up to 3 months.
- Reviving: Refresh cookies in a 300°F oven for 3-5 minutes to crisp slightly; fill only when completely cool.
Serving Suggestions
Complementary Dishes
- A simple cheese board — The sharpness of a good cheddar or the creaminess of brie provides a fantastic savory counterpoint to the sweet, spiced cookies.
- Mulled wine or hot apple cider — The warm, spiced notes in the drink echo the flavors in the cookie, creating a wonderfully cohesive and cozy flavor experience.
Drinks
- A strong cup of black coffee — The bitterness of the coffee cuts through the sweetness of the cookie and filling beautifully, making each bite feel fresh and new.
- A glass of cold milk — It’s a classic for a reason. The cool, creamy milk is the perfect partner to the warm spices and soft, chewy texture of the gingerbread.
Something Sweet
- Peppermint bark — The cool, crisp mint provides a refreshing and festive contrast that cleanses the palate after the rich, spiced cookie.
- A small scoop of vanilla bean ice cream — For an over-the-top treat, sandwich a tiny scoop between two cookies. The warm cookie and cold ice cream is a textural dream.
Top Mistakes to Avoid
- Mistake: Using melted or liquidy butter. This is the number one reason cookies spread into flat puddles. Your butter must be properly softened—creamy but still cool—to hold air and structure during creaming.
- Mistake: Skipping the dough chilling step. I’ve messed this up before too, thinking I could save time. Warm dough spreads rapidly, and your carefully made thumbprint wells will bake shut. The short chill is non-negotiable for the perfect shape.
- Mistake: Overbaking the cookies. They continue to cook on the hot baking sheet after you take them out. You want to pull them when the edges are just set but the centers still look soft. Overbaked gingerbread thumbprints become hard and lose their lovely chew.
- Mistake: Filling the cookies before they are completely cool. If the cookies are even slightly warm, the heat will melt your buttercream or cause your curd to slide right off. Patience is key for a neat presentation.
Expert Tips
- Tip: Weigh your flour. If you’re using cup measurements, fluff your flour first, then spoon it into the cup and level it off. Scooping directly from the bag can pack in too much flour, leading to dry, crumbly cookies. A kitchen scale is your best friend for baking consistency.
- Tip: Re-press the indentations immediately. The moment the cookies come out of the oven, the dough is still soft and pliable. This is your one and only chance to redefine those wells perfectly before the cookies set. It takes five seconds and makes a world of difference.
- Tip: Experiment with spiced sugar for rolling. Add a pinch of cinnamon or ginger to the granulated sugar you use for coating. It adds an extra, subtle layer of flavor and a bit of visual interest with the specks of spice.
- Tip: Make the dough ahead. You can wrap the dough log tightly in plastic wrap and refrigerate it for up to 3 days. This actually allows the flavors to meld and deepen. Just let it sit at room temperature for 10-15 minutes before slicing and baking.
FAQs
Can I make these cookies ahead of time?
Absolutely! You have two great options. You can make the dough, wrap it well, and refrigerate it for up to 3 days, or freeze it for up to 3 months. Alternatively, you can bake the cookies (without filling) and store them in an airtight container at room temperature for up to 5 days. I highly recommend filling them the day you plan to serve them for the best texture and appearance.
My thumbprints puffed up and disappeared in the oven! What happened?
This is a common issue, and it almost always comes down to the dough temperature. The dough was likely too warm when it went into the oven, causing it to spread and puff up rapidly. Next time, ensure you chill the dough for the full 30 minutes (or even a bit longer if your kitchen is warm). And remember that quick re-press with a spoon as soon as they come out of the oven—it’s your secret weapon!
What’s the best way to fill the thumbprints?
For a super neat and professional look, a piping bag fitted with a round tip (like a Wilton #12) is the way to go. It gives you so much control. If you don’t have one, no worries! You can spoon the filling into a zip-top bag, snip off a tiny corner, and use that as a makeshift piping bag. A small teaspoon also works in a pinch.
Can I freeze the baked cookies?
You sure can, and they freeze beautifully. Make sure the baked cookies (unfilled) are completely cooled. Layer them between sheets of parchment paper in an airtight, freezer-safe container. They’ll keep for up to 3 months. Thaw at room temperature before filling and serving. I wouldn’t recommend freezing them after they’ve been filled, as the filling can become weepy or change texture.
My dough is too sticky to roll. What should I do?
This usually means it needs a bit more chilling time. Pop the whole bowl back into the fridge for another 15-20 minutes. If you’re in a real rush, you can lightly flour your hands to prevent sticking, but be sparing—too much extra flour will make the cookies tough. Chilling is really the best solution here.


Gingerbread Thumbprint Cookies: A Festive Holiday Treat
Gingerbread Thumbprints are the ultimate easy Christmas treat—soft, spiced cookies with a sweet jam center. Perfect for your holiday baking list and edible comfort.
Ingredients
For the Dough
-
225 g unsalted butter (softened)
-
150 g packed dark brown sugar
-
1 large egg (at room temperature)
-
80 ml molasses (not blackstrap)
-
1 tsp vanilla extract
-
315 g all-purpose flour
-
1 tsp baking soda
-
0.5 tsp salt
-
2 tsp ground ginger
-
1.5 tsp ground cinnamon
-
0.5 tsp ground cloves
-
0.25 tsp ground nutmeg
For the Filling
-
0.5 cup vanilla buttercream, royal icing, or lemon curd (your choice)
For Rolling
-
Granulated sugar (for coating)
Instructions
-
In the bowl of your stand mixer fitted with the paddle attachment, beat the softened butter and dark brown sugar together on medium speed for about 2-3 minutes.01
-
Beat in the egg, followed by the molasses and vanilla extract.02
-
In a separate medium bowl, whisk together the flour, baking soda, salt, and all the spices: ginger, cinnamon, cloves, and nutmeg.03
-
With the mixer on low speed, gradually add the dry ingredients to the wet ingredients.04
-
Cover the bowl with plastic wrap and refrigerate the dough for at least 30 minutes.05
-
While the dough chills, preheat your oven to 350°F (175°C). Line two large baking sheets with parchment paper. Place about ½ cup of granulated sugar in a small bowl.06
-
Scoop out about 1 tablespoon of dough for each cookie. Roll it between your palms to form a smooth ball. Roll each ball in the granulated sugar until it’s fully coated.07
-
Place the sugar-coated dough balls about 2 inches apart on the prepared baking sheets. Now, use your thumb, the end of a wooden spoon, or the back of a ½ teaspoon measure to press a deep, clear indentation into the center of each ball.08
-
Bake for 9-11 minutes, or until the cookies look set and the edges are just barely starting to firm up.09
-
As soon as the cookies come out of the oven, take the end of your spoon or measuring spoon and gently re-press the indentations. Let the cookies cool on the baking sheet for 5 minutes before transferring them to a wire rack to cool completely.10
-
Once the cookies are completely cool, fill the indentations with your chosen filling.11
Not what you're looking for?


