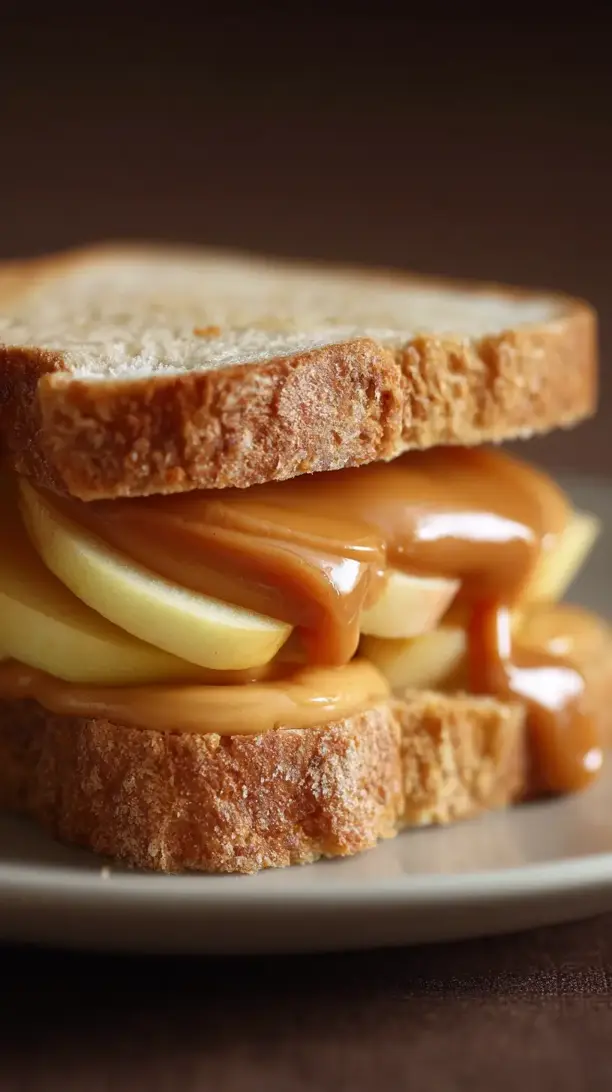
These Peanut Butter Apple Sandwiches are a nostalgic, satisfying meal with crisp apple against creamy peanut butter. It’s a quick, no-cook recipe where small details make a big difference.
Looking for Peanut Butter Apple Sandwiches inspiration? You'll love what we have! Explore more Snacks recipes or discover our Chicken Breast Recipes favorites.


Why You’ll Love This Peanut Butter Apple Sandwiches
- Perfect texture contrast: Crisp apple against creamy peanut butter and soft bread.
- Effortless and fast: Ready in under 10 minutes for busy days.
- Endlessly customizable: Add honey, cinnamon, or granola to mix it up.
- Satisfying and wholesome: Balanced protein, fats, and carbs keep you full.
Ingredients & Tools
- 4 slices of your favorite bread (sourdough, whole wheat, or multigrain work wonderfully)
- ½ cup creamy peanut butter (or crunchy, if you prefer more texture)
- 1 medium crisp apple (like Honeycrisp, Granny Smith, or Fuji)
- 1 tsp fresh lemon juice (optional, but it keeps the apples from browning)
- 1 pinch of flaky sea salt (trust me, it makes a difference)
- 1 tbsp honey or maple syrup (optional, for a touch of sweetness)
Tools: a sharp knife, a cutting board, a small bowl, and a butter knife for spreading.
Notes: Use a crisp, slightly tart apple and natural peanut butter for best flavor.
Nutrition (per serving)
| Calories: | 420 kcal |
| Protein: | 14 g |
| Fat: | 22 g |
| Carbs: | 45 g |
| Fiber: | 7 g |
Serves: 2 | Prep Time: 10 minutes | Cook Time: 0 minutes | Total Time: 10 minutes
Before You Start: Tips & Ingredient Notes
- Which apple is best? You want something crisp and firm that won’t turn to mush. Honeycrisp offers great sweetness, Granny Smith brings a tart punch, and Fuji is wonderfully balanced. Avoid softer varieties like Red Delicious.
- Why the lemon juice? It’s a simple trick, but tossing your apple slices in a tiny bit of lemon juice prevents them from oxidizing and turning brown, especially if you’re making these ahead for lunchboxes. The flavor is barely noticeable, I promise.
- Peanut butter choices matter. Creamy gives you that smooth, velvety texture, while crunchy adds a nice bite. I prefer natural peanut butter for its pure taste, but any kind you love will work—just give it a good stir if the oil has separated.
- Don’t skip the salt. A tiny pinch of flaky sea salt on top of the peanut butter amplifies all the flavors and balances the sweetness of the apple. It’s a small step with a big payoff.
How to Make Peanut Butter Apple Sandwiches
Step 1: First, get your apple ready. Give it a good wash and dry it. Using a sharp knife, slice the apple in half from stem to bottom, then use a paring knife or a corer to remove the core and seeds. Now, slice each half into thin, even slices—about ¼-inch thick. You’ll notice that thinner slices are easier to bite through and layer more evenly in the sandwich. If you’re worried about browning, toss the slices in a small bowl with the teaspoon of lemon juice and give them a gentle mix.
Step 2: It’s time to prepare your bread. Lay out your four slices of bread on the cutting board. If you’re toasting the bread, now is the moment—a light toast can add a lovely warmth and extra crunch, and it also helps create a slight barrier against the juicy apple, preventing sogginess. If you prefer your bread soft, that’s totally fine too. This is your sandwich, after all.
Step 3: Now for the peanut butter layer. Using your butter knife, spread a generous, even layer of peanut butter on all four slices of bread. You want good coverage right to the edges—this acts as a moisture seal. If you’re using honey or maple syrup, this is the time to drizzle it lightly over the peanut butter on two of the slices. You’ll see it glisten and sink in just a little.
Step 4: Carefully arrange your apple slices. Layer the apple slices neatly over the peanut butter on two of the bread slices. Try to cover the surface area evenly, slightly overlapping them if needed. The goal is to have apple in every single bite. If you tossed them in lemon juice, let any excess drip off before placing them on the bread.
Step 5: The final assembly. Here’s the trick: sprinkle that tiny pinch of flaky sea salt directly over the apple slices. It might seem odd, but it makes the peanut butter taste nuttier and the apple taste sweeter. Now, take the other two slices of bread (the ones with just peanut butter) and place them on top, peanut butter side down, pressing gently to seal the deal.
Step 6: If you’re feeling fancy or want easier eating, you can slice the sandwiches. Using a sharp serrated knife, carefully cut each sandwich in half diagonally or into rectangles. A serrated knife glides through the apple layers without squashing the bread. And that’s it—you’re done! Serve immediately for the ultimate crisp, creamy experience.
Storage & Freshness Guide
- Fridge: Best assembled and eaten immediately. Components can be stored separately for 1 day.
- Freezer: Not recommended; apples become mushy upon thawing.
- Reviving: If bread softens, briefly toast assembled sandwich in a skillet for crispness.
Serving Suggestions
Complementary Dishes
- A simple green side salad — A light salad with a tangy vinaigrette cuts through the richness of the sandwich and adds a fresh, crisp element to your meal.
- A cup of tomato or butternut squash soup — For a cozier, more complete meal, the savory, warm soup pairs wonderfully with the sweet and salty notes of the sandwich, especially on a chilly day.
- Carrot and celery sticks with ranch dip — This adds more crunch and a cool, creamy component, making the whole plate feel like a satisfying, well-rounded lunch.
Drinks
- A cold glass of milk — It’s a classic for a reason; the creaminess of milk is the perfect partner to peanut butter and makes the whole experience feel comforting and complete.
- Iced green tea with lemon — The slight bitterness and citrus notes are incredibly refreshing and help cleanse the palate between bites of the rich sandwich.
- A crisp apple cider — It echoes the flavor of the apple in the sandwich and adds a festive, autumnal feel, making a simple lunch feel a little more special.
Something Sweet
- A small square of dark chocolate — A piece of high-quality dark chocolate with your coffee after the sandwich feels like a decadent, grown-up finish that complements the nutty flavors beautifully.
- A few vanilla wafer cookies — They’re light, crispy, and not too sweet, providing a simple, nostalgic end to the meal without being overwhelming.
- A dollop of Greek yogurt with honey — If you want something sweet but still wholesome, this is it. The tangy yogurt and floral honey are a lovely, light contrast.
Top Mistakes to Avoid
- Using a soft, mealy apple. This is the number one culprit for a sad sandwich. A soft apple will release too much water and make the bread unpleasantly soggy, plus it lacks the satisfying crunch.
- Spreading the peanut butter too thin. You need a good, thick layer to act as a moisture barrier against the apple juice. A skimpy layer means a soggy sandwich and less peanut butter flavor.
- Skipping the salt. I’ve messed this up before too, thinking it wouldn’t matter. But without that pinch of salt, the flavors can taste a bit


Peanut Butter Apple Sandwiches
Make delicious Peanut Butter Apple Sandwiches in just 10 minutes! This easy, no-cook recipe is perfect for a quick lunch or snack. Get the simple steps here!
Ingredients
For the Ingredients
-
4 slice bread (your favorite)
-
1/2 cup creamy peanut butter
-
1 medium crisp apple
-
1 tsp fresh lemon juice
-
1 pinch flaky sea salt
-
1 tbsp honey or maple syrup
Instructions
-
First, get your apple ready. Give it a good wash and dry it. Using a sharp knife, slice the apple in half from stem to bottom, then use a paring knife or a corer to remove the core and seeds. Now, slice each half into thin, even slices—about ¼-inch thick. You’ll notice that thinner slices are easier to bite through and layer more evenly in the sandwich. If you’re worried about browning, toss the slices in a small bowl with the teaspoon of lemon juice and give them a gentle mix.01
-
It’s time to prepare your bread. Lay out your four slices of bread on the cutting board. If you’re toasting the bread, now is the moment—a light toast can add a lovely warmth and extra crunch, and it also helps create a slight barrier against the juicy apple, preventing sogginess. If you prefer your bread soft, that’s totally fine too. This is your sandwich, after all.02
-
Now for the peanut butter layer. Using your butter knife, spread a generous, even layer of peanut butter on all four slices of bread. You want good coverage right to the edges—this acts as a moisture seal. If you’re using honey or maple syrup, this is the time to drizzle it lightly over the peanut butter on two of the slices. You’ll see it glisten and sink in just a little.03
-
Carefully arrange your apple slices. Layer the apple slices neatly over the peanut butter on two of the bread slices. Try to cover the surface area evenly, slightly overlapping them if needed. The goal is to have apple in every single bite. If you tossed them in lemon juice, let any excess drip off before placing them on the bread.04
-
The final assembly. Here’s the trick: sprinkle that tiny pinch of flaky sea salt directly over the apple slices. It might seem odd, but it makes the peanut butter taste nuttier and the apple taste sweeter. Now, take the other two slices of bread (the ones with just peanut butter) and place them on top, peanut butter side down, pressing gently to seal the deal.05
-
If you’re feeling fancy or want easier eating, you can slice the sandwiches. Using a sharp serrated knife, carefully cut each sandwich in half diagonally or into rectangles. A serrated knife glides through the apple layers without squashing the bread. And that’s it—you’re done! Serve immediately for the ultimate crisp, creamy experience.06
Not what you're looking for?


