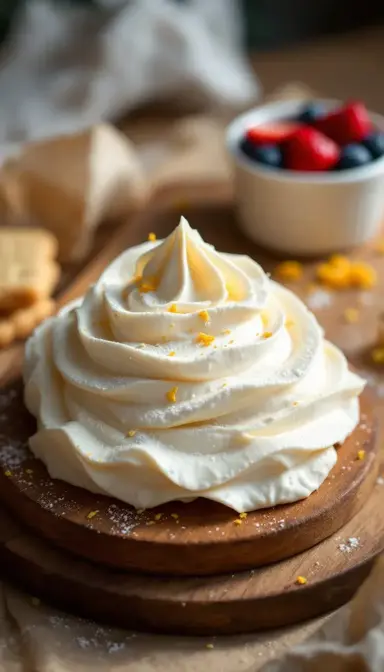
There’s something downright magical about a bowl of homemade vanilla yogurt. It’s like wrapping yourself in a cozy blanket of creamy goodness—only this one happens to be packed with gut-loving probiotics and just the right touch of sweetness. Forget those neon-colored supermarket tubs with their unpronounceable ingredients. When you make it yourself, you’re in control. Want it thicker? Straining’s your friend. Prefer a whisper of honey over sugar? Go for it. This is yogurt that bends to *your* cravings, not the other way around.
Love Vanilla Yogurt? So do we! If you're into Dessert Recipes or curious about Breakfast & Brunch, you'll find plenty of inspiration below.


Why This Recipe Works
- Pure, uncomplicated joy: Just milk, a spoonful of starter, and real vanilla. No gum, no fillers, no regrets.
- Your kitchen, your rules: Dial the sweetness up or down, toss in fresh fruit, or drizzle with maple syrup—it’s your canvas.
- A probiotic hug for your gut: Those live cultures? They’re like tiny cheerleaders for your digestive system.
The Story Behind the Sauce
- Your wallet will thank you: A quart of artisanal yogurt at the store costs more than a fancy latte. This? Pennies per serving.
- Zero weird additives: If you can’t spell it, you shouldn’t eat it. This recipe keeps things gloriously simple.
- Breakfast, snack, dessert—oh my: Swirl it into smoothies, dollop it on pancakes, or eat it straight from the jar with a spoon (no judgment here).
Essential Ingredients & Tools
Ingredients for the Yogurt Base
- 4 cups whole milk (ensures creaminess; 2% works but yields a thinner texture)
- 2 tbsp plain yogurt with live cultures (acts as a starter; Greek yogurt adds thickness)
- 1 tbsp pure vanilla extract (imparts floral sweetness; vanilla bean paste intensifies flavor)
- 2 tbsp honey or sugar (balances tartness; omit for sugar-free versions)
Tools You’ll Need
- Heavy-bottomed saucepan (prevents scorching during milk heating)
- Digital thermometer (critical for monitoring milk at 180°F and cooling to 110°F)
- Whisk (ensures smooth incorporation of starter)
- Glass jars with lids (ideal for incubation; retains heat evenly)
- Insulated cooler or oven with light on (maintains steady 110°F for culturing)
Serves: 4 | Prep time: 10 mins | Cook time: 30 mins | Total time: 8–12 hrs (includes culturing)
How to Make Creamy Homemade Vanilla Yogurt
- Heat the milk gently: Pour 4 cups of whole milk into a heavy-bottomed saucepan and warm it slowly over medium-low heat, stirring frequently with a whisk to prevent a skin from forming. Use a digital thermometer to monitor the temperature—180°F is the sweet spot. This step pasteurizes the milk (kills unwanted bacteria) and denatures proteins (unfolds them for a thicker yogurt). Pro tip: If you’re short on time, microwave the milk in 1-minute bursts, stirring between intervals, but watch closely to avoid boiling over.
- Cool to culturing temperature: Remove the milk from heat and let it cool to 110°F, which takes about 20–30 minutes. This is critical—too hot, and the live cultures in your starter will die; too cold, and fermentation won’t begin. Speed up cooling by placing the saucepan in an ice bath, but stir constantly to ensure even temperature distribution. Test the milk’s warmth on your wrist—it should feel like a baby’s bottle, barely warmer than body temperature.
- Inoculate with starter and vanilla: Whisk in 2 tbsp of plain yogurt with live cultures (your “starter”) until fully dissolved. Add 1 tbsp vanilla extract and 2 tbsp honey or sugar (if using), whisking gently to avoid incorporating air bubbles. Pro tip: For extra silkiness, strain the starter yogurt through a fine sieve first to remove any lumps. Avoid using metal utensils here—wooden or silicone tools are gentler on the delicate cultures.
- Incubate for fermentation: Pour the mixture into sterilized glass jars, cover with lids, and place them in a warm (110°F), draft-free environment for 8–12 hours. An oven with the light on, a yogurt maker, or an insulated cooler with a warm water bottle works well. Longer incubation = thicker, tangier yogurt. Resist peeking—every time you open the container, heat escapes and slows fermentation.
- Chill to set: After culturing, refrigerate the yogurt for at least 4 hours (ideally overnight) to halt fermentation and allow it to thicken further. Pro tip: For Greek-style yogurt, strain it through cheesecloth for 2–6 hours—the longer you strain, the denser it becomes. Save the whey for smoothies or bread baking!
Pro Technique
Controlling Fermentation for Flavor and Texture
The magic happens during incubation. For mild, kid-friendly yogurt, culture for 8 hours. For thicker, tangier yogurt (like Bulgarian-style), push to 12 hours. Temperature is key—110°F is the gold standard for most starter cultures. If your yogurt turns out runny, don’t panic. Straining (even briefly) can salvage it, or blend in 1 tsp powdered milk next time for extra body.
Vanilla Infusion Secrets
Skip artificial extracts—steep a split vanilla bean in the warm milk for 30 minutes before culturing for deeper flavor. For a speckled, gourmet look, scrape the seeds into the milk. Vanilla bean paste is a handy shortcut, offering both seeds and extract in one. Avoid adding vanilla after fermentation—the alcohol in extracts can inhibit probiotics.
Chef’s Wisdom
The Starter Matters Most
Your yogurt’s success hinges on the starter’s vitality. Always use fresh, unflavored yogurt with live cultures (check labels for *L. bulgaricus* or *S. thermophilus*). Freeze-dried starters work too but lack the complexity of traditional ones. If your batch fails, reheat to 110°F and add a new starter—sometimes, store-bought cultures are sluggish.
Texture Troubleshooting
Grainy yogurt? Blend it post-chilling for silkiness. Too thin? Strain it longer or add 1 tbsp chia seeds per cup to thicken naturally. For ultra-creamy results, use half-and-half instead of milk, but reduce incubation time by 1 hour—the extra fat ferments faster.
Storage & Freshness Guide
Refrigeration Best Practices
Store yogurt in airtight glass jars for up to 2 weeks. Separation is normal—stir the whey back in for drinkable yogurt, or drain it for thickness. Avoid plastic containers, which can harbor odors and affect flavor.
Freezing Considerations
While freezing dulls live cultures, you can freeze vanilla yogurt as frozen yogurt bars or sorbet. Add 1 tsp cornstarch before freezing to minimize iciness. Thaw overnight in the fridge and stir vigorously before serving.
Starter Maintenance
Reserve ¼ cup of each batch as a starter for the next. Label it with the date—cultures weaken after 3–4 uses. For long-term storage, freeze starters in ice cube trays and thaw as needed.
Nutrition Profile
Vanilla yogurt offers protein, calcium, and probiotics with moderate calories.
| Nutrient | Amount per serving |
|---|---|
| Calories | 150 |
| Fat | 8g |
| Protein | 6g |
| Carbs | 12g |
| Fiber | 0g |
Ingredient Variations and Their Impact
- Coconut Milk Yogurt
Swap: Replace dairy milk with full-fat coconut milk for a vegan option. The result is thinner and tropical-flavored—add ½ tsp guar gum per can to stabilize.
Upgrade: Toast shredded coconut and sprinkle on top for crunch. - Maple Vanilla Yogurt
Swap: Use maple syrup instead of honey for earthy sweetness. Its minerals may slightly slow fermentation, so extend incubation by 30 minutes.
Upgrade: Infuse the milk with a cinnamon stick during heating for warmth. - Labneh-Style Yogurt
Swap: Strain for 24+ hours to achieve a cream-cheese consistency.
Upgrade: Mix in zest of 1 lemon and fresh thyme for a savory spread. - Vanilla Bean Yogurt
Swap: Use 1 scraped vanilla bean instead of extract for intense flavor.
Upgrade: Add a pinch of cardamom to highlight vanilla’s floral notes. - Skyr-Inspired Yogurt
Swap: Use skim milk and extra starter (3 tbsp) for Icelandic thickness.
Upgrade: Culture at 105°F for 14 hours for maximum tartness.
Perfect Pairings
Complementary Dishes
- Honey-Glazed Granola: The crunch and caramelized sweetness contrast the yogurt’s creaminess. Opt for clover honey—its mild floral notes won’t overpower vanilla.
- Poached Pears: Warm, spiced pears (cooked in cinnamon and star anise) add elegance and a temperature contrast.
Drinks
- Sparkling Moscato: The wine’s peachy effervescence lifts vanilla’s richness without cloying.
- Earl Grey Tea: Bergamot’s citrusy brightness cuts through the yogurt’s fat, creating balance.
Something Sweet
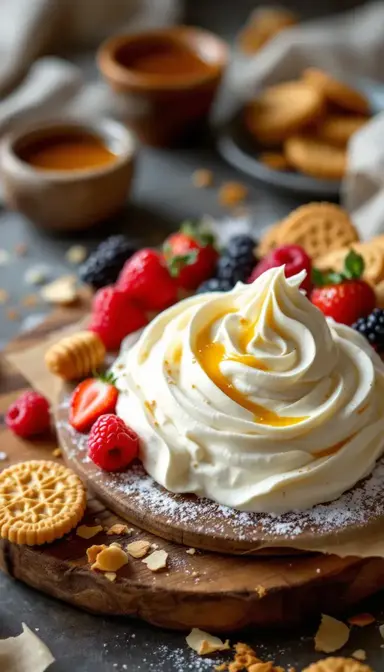
- Berry Compote: Macerated strawberries or raspberries (tossed with a splash of balsamic) add tangy complexity.
- Dark Chocolate Shavings: A bitter counterpoint to sweet yogurt—choose 70% cacao for depth.


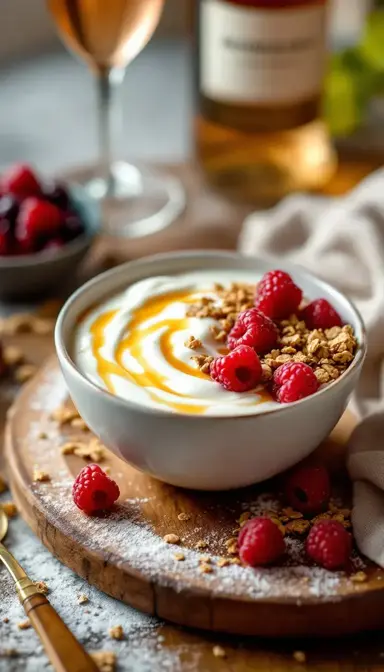
Creamy Homemade Vanilla Yogurt: A Spoonful of Sunshine
Make your own creamy Vanilla Yogurt at home with just 4 simple ingredients. It's probiotic-rich, naturally sweet, and way better than store-bought. Get the easy recipe!
Ingredients
Main
-
4 cups whole milk
-
2 tbsp plain yogurt (with live cultures)
-
1 tbsp pure vanilla extract
-
2 tbsp honey or sugar (optional)
Instructions
-
Heat milk to 180°F in a saucepan, stirring frequently.01
-
Cool milk to 110°F.02
-
Whisk in starter yogurt, vanilla, and sweetener (if using).03
-
Pour into jars and incubate at 110°F for 8–12 hours.04
-
Refrigerate for at least 4 hours before serving.05
Not what you're looking for?